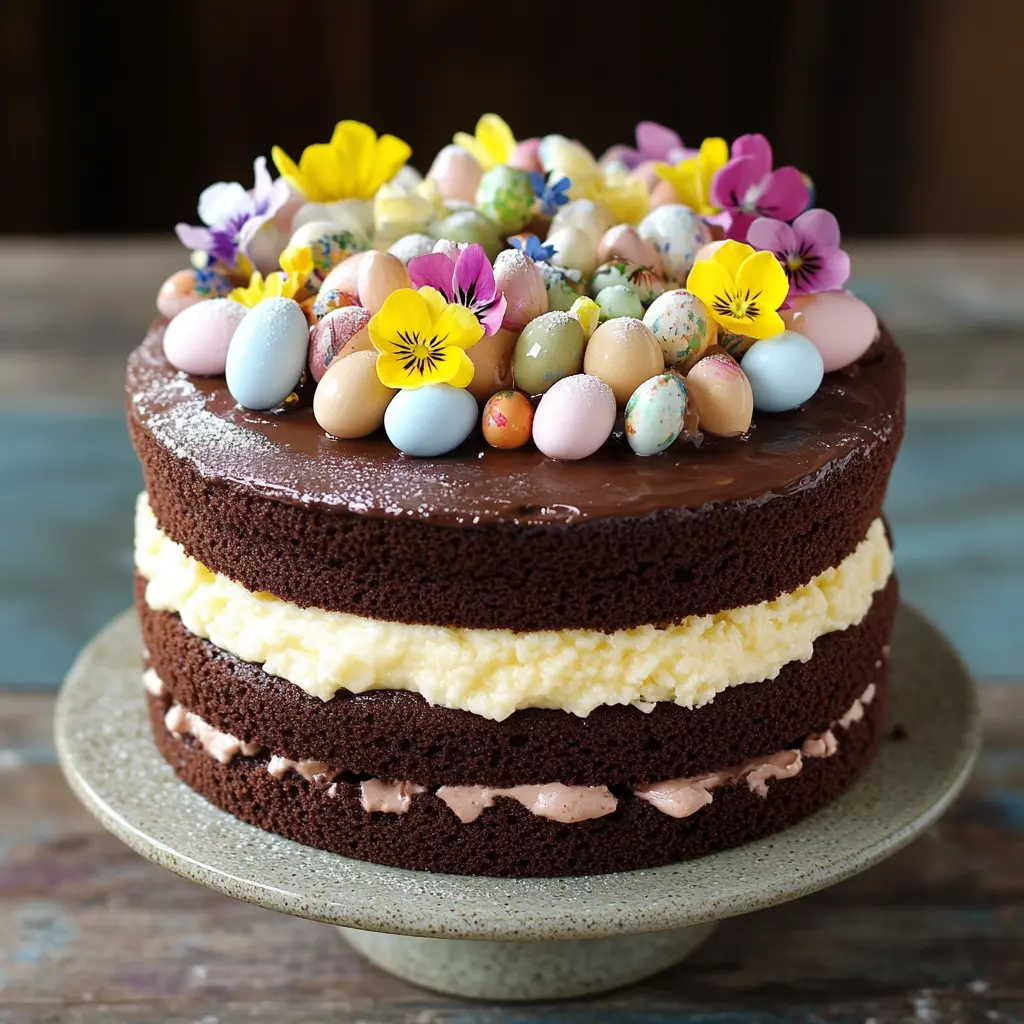
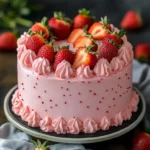
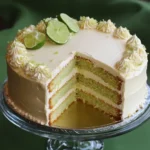
Description: This magnificent three-layer cake is a showstopper, perfect for birthdays, anniversaries, or any occasion that calls for a delightful celebration. Combining the rich depth of chocolate with the delicate sweetness of vanilla, this cake is frosted with a vibrant, pastel-colored buttercream, creating a stunning visual and flavorful experience.
Why You’ll Love This Recipe:
- Spectacular Presentation: The pastel buttercream rosettes and edible decorations create a stunning centerpiece that will impress your guests.
- Moist and Flavorful Cake: The combination of cocoa powder, coffee, and buttermilk results in a moist, rich chocolate cake with a tender crumb. The vanilla extract enhances the overall flavor profile.
- Easy to Customize: The pastel colors of the buttercream frosting can be easily adjusted to match your party theme or personal preferences. You can also get creative with the decorations!
- Surprisingly Simple to Make: Despite its impressive appearance, this cake is surprisingly easy to bake and decorate. The recipe is straightforward and easy to follow.
- Perfect for Sharing: This large cake is perfect for feeding a crowd, making it ideal for parties and gatherings.
Introduction
This Chocolate & Vanilla Celebration Cake is more than just a dessert; it’s an experience. It’s the centerpiece of a birthday party, the sweet conclusion to a family gathering, and the edible embodiment of joy and celebration. The rich, moist chocolate cake layers are perfectly complemented by the light and fluffy vanilla buttercream, creating a symphony of flavors that will delight your taste buds.
The pastel-colored buttercream rosettes add a touch of whimsy and elegance, making this cake a true work of art. This recipe is designed to be accessible to both experienced bakers and those new to the world of cake decorating. With clear instructions and helpful tips, you’ll be able to create a stunning cake that will impress your friends and family.
Ingredients:
For the Chocolate Cake:
- 225ml vegetable oil, plus extra for greasing the tins
- 300g plain flour
- 100g cocoa powder
- 2 tsp baking powder
- 1 ½ tsp bicarbonate of soda
- 400g light brown soft sugar
- 300ml milk
- 2 tsp white wine vinegar
- 100ml strong coffee or espresso, cooled
- 2 tsp vanilla extract or paste
- 3 medium eggs
For the Vanilla Buttercream:
- 400g butter, at room temperature
- 800g icing sugar
- 2 tsp vanilla extract or paste
- 4-5 tbsp milk
- Food coloring pastes (pastel pink, purple, and yellow recommended)
For Decoration (optional):
- Edible flowers
- Pastel sugared almonds
- Mini chocolate eggs
Preparation:
Step 1: Prepare the Cake Tins and Dry Ingredients
Preheat your oven to 180°C/160°C fan/gas mark 4. Grease three 20cm cake tins with vegetable oil and line the bottoms with baking parchment. This will ensure that your cakes release easily after baking. In a large bowl, whisk together the plain flour, cocoa powder, baking powder, bicarbonate of soda, and light brown soft sugar. Add a pinch of salt to enhance the flavors. Use your fingertips to break up any lumps in the sugar. Ensure everything is well combined.
Step 2: Combine Wet Ingredients
In a separate jug, whisk together the vegetable oil, milk, white wine vinegar, cooled coffee or espresso, vanilla extract or paste, and eggs. The white wine vinegar helps to activate the bicarbonate of soda, creating a light and fluffy cake. The cooled coffee enhances the chocolate flavor of the cake. Whisk all ingredients thoroughly until a smooth emulsion forms.
Step 3: Combine Wet and Dry Ingredients
Pour the wet ingredients into the bowl of dry ingredients. Using a whisk, gently combine until smooth, ensuring there are no pockets of flour at the bottom of the bowl. Don’t overmix the batter, as this can result in a tough cake. The batter will be quite runny, which is normal.
Step 4: Bake the Cakes
Divide the batter evenly between the prepared cake tins. Use a kitchen scale for accurate measurements. Bake on the middle shelf of the oven (or middle and top if they don’t all fit on one shelf) for 25 minutes. After 25 minutes, swap the tins around to ensure even baking and bake for another 5 minutes.
Step 5: Check for Doneness and Cool
Check the cakes for doneness by inserting a skewer into the center of each. If the skewer comes out clean or with a few moist crumbs, the cakes are done. If any wet batter clings to the skewer, return the tins to the oven for another 5 minutes and check again. Once the cakes are done, leave them to cool in the tins for 30 minutes before turning them out onto wire racks to cool completely. Wrapping cooled sponges well and storing in an airtight container or freezing them will help to maintain moisture.
Step 6: Prepare the Buttercream
While the cakes are cooling, prepare the vanilla buttercream. In a large bowl, beat the butter using an electric whisk or in a stand mixer for a few minutes until smooth and creamy. Gradually add the icing sugar, beating well after each addition. Incorporate the vanilla extract or paste and 4 tablespoons of milk. Beat until the buttercream is light and fluffy, adding a splash more milk if needed to achieve the desired consistency.
Step 7: Color the Buttercream
Divide the buttercream into three separate bowls. Add a few drops of different food coloring paste to each bowl, such as pastel pink, purple, and yellow. Mix well to achieve the desired shades. You can adjust the amount of food coloring to create lighter or darker pastel colors.
Step 8: Decorate the Cake
Spoon the colored buttercream mixtures into three separate piping bags and snip off the tips. Place a dot of buttercream onto a cake stand or board and place the first sponge on top to help keep it in place. Pipe small blobs of purple buttercream all over the top of the sponge by holding the piping bag directly above the cake, about ½cm from the surface, and squeezing the bag while pulling upwards to create a small peak. Repeat the process with the pink buttercream on the second layer and the yellow buttercream on the third layer. Decorate with edible flowers, sugared almonds, or mini chocolate eggs, if desired.
COOKING Rating:
- Skill Level: Intermediate
- Flavor Profile: Rich chocolate with sweet vanilla
- Occasion: Celebrations, birthdays, parties
Serving Suggestions:
- Serve this cake chilled or at room temperature.
- Pair it with a scoop of vanilla ice cream or a dollop of whipped cream.
- Enjoy it with a cup of coffee or tea.
Tips:
- For a richer chocolate flavor, use dark cocoa powder.
- Make sure your butter is at room temperature for the best buttercream consistency.
- Don’t overbake the cakes, as this can make them dry.
- If you don’t have food coloring pastes, you can use liquid food coloring, but be careful not to add too much, as it can thin out the buttercream.
- To make the buttercream even more stable, add a tablespoon of meringue powder.
- If you want to make this cake ahead of time, you can bake the cakes and make the buttercream separately and store them in the refrigerator until you’re ready to assemble the cake.
Prep Time: 45 minutes
Cook Time: 30 minutes
Total Time: 1 hour 15 minutes + cooling and decorating time
Nutritional Information:
- Nutritional information will vary depending on specific ingredients and serving size. The below figures are approximate.
- Calories: 600-800 per slice (estimate)
- Protein: 5-7g per slice (estimate)
- Sodium: 200-300mg per slice (estimate)
Conclusion
This Chocolate & Vanilla Celebration Cake is a truly special dessert that is perfect for any occasion. With its rich chocolate flavor, creamy vanilla buttercream, and stunning pastel decorations, it’s sure to be a hit with everyone. So, gather your ingredients, put on your apron, and get ready to create a cake that will be remembered long after the last slice is gone!
Questions and Answers About This Recipe:
Q1: Can I use a different type of flour?
A: While plain flour is recommended for this recipe, you could substitute it with a gluten-free all-purpose flour blend. However, be aware that this may affect the texture of the cake, potentially making it slightly denser or drier. Adjusting the liquid content might be necessary to achieve the right consistency. Avoid using self-raising flour, as the recipe already includes baking powder and bicarbonate of soda, and adding more leavening agents could cause the cake to rise too quickly and then collapse.
Q2: What can I do if I don’t have light brown soft sugar?
A: Light brown soft sugar is preferred for its moisture content and subtle molasses flavor, which enhances the overall richness of the cake. However, if you don’t have it on hand, you can substitute it with granulated sugar or caster sugar. Keep in mind that granulated sugar will not provide the same level of moisture, so the cake may be slightly drier. Adding a tablespoon of molasses to granulated sugar can help mimic the flavor and moisture of light brown soft sugar.
Q3: Can I make this cake without coffee?
A: The coffee in this recipe is primarily used to enhance the chocolate flavor of the cake. It doesn’t impart a strong coffee taste. If you don’t want to use coffee, you can substitute it with an equal amount of hot water or milk. However, keep in mind that the chocolate flavor may not be as intense. Alternatively, you could use a coffee substitute like chicory-based coffee alternatives.
Q4: How do I prevent the cake layers from sticking to the tins?
A: To prevent the cake layers from sticking, it’s crucial to properly prepare the cake tins. Grease them thoroughly with vegetable oil, ensuring that all surfaces are coated. Then, line the bottoms of the tins with baking parchment. The combination of greasing and lining provides a double layer of protection, making it easier to release the cakes after baking. After the cakes have cooled slightly in the tins, run a thin knife or spatula around the edges to loosen them before inverting them onto a wire rack.
Q5: What’s the best way to store this cake?
A: This cake is best stored in an airtight container at room temperature. Avoid storing it in the refrigerator, as this can dry out the cake. If you want to store the cake for longer than a few days, you can freeze the cake layers separately. Wrap them tightly in plastic wrap and then place them in a freezer-safe bag or container. The buttercream can also be frozen in an airtight container. When you’re ready to assemble the cake, thaw the layers and buttercream completely before decorating.
