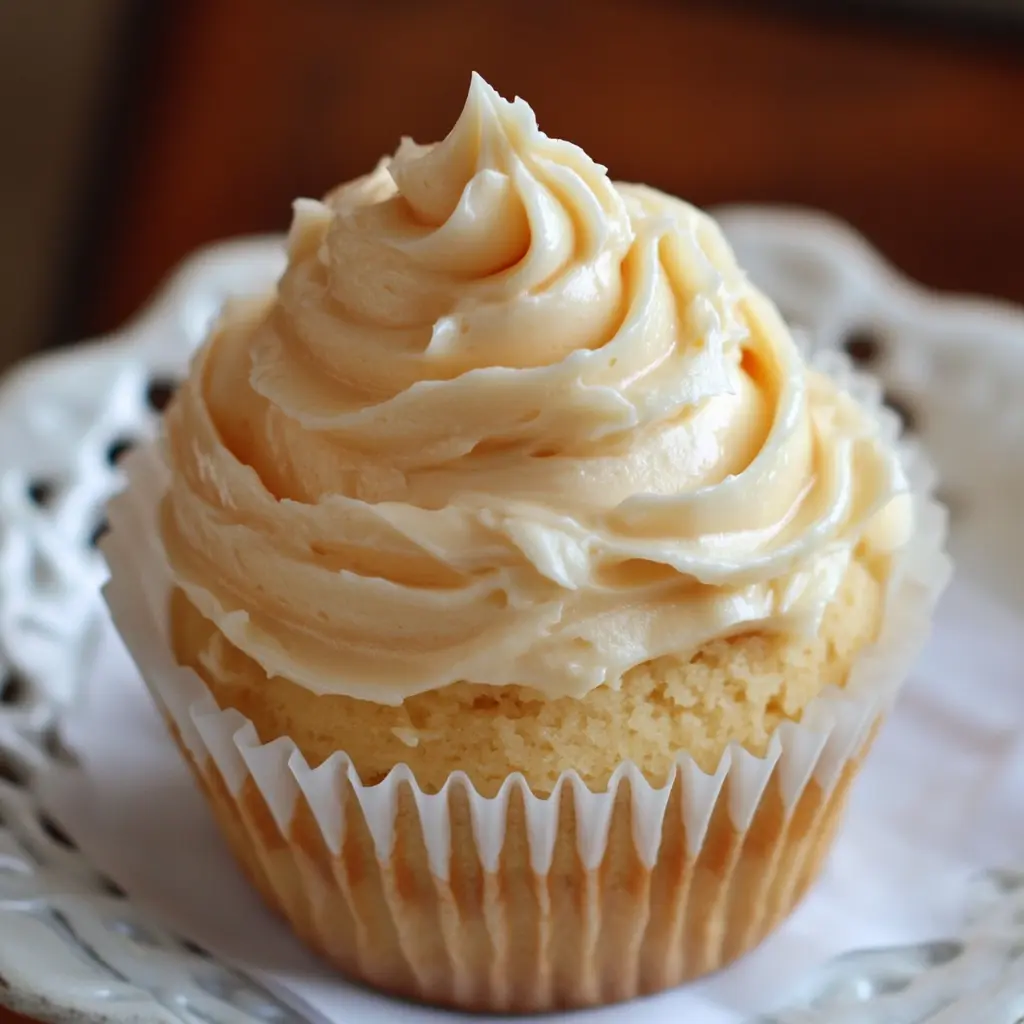
Description of this recipe: This recipe provides a foolproof method for creating a classic American buttercream frosting that is smooth, creamy, and perfectly sweet. It’s incredibly versatile and can be used to adorn cakes, cupcakes, cookies, and more!
Why you will love this recipe: Forget grainy, overly sweet buttercream! This recipe delivers a velvety texture and balanced sweetness that will elevate any dessert. It’s also incredibly easy to make, requiring only a few simple ingredients and minimal effort. The use of both butter and shortening ensures a stable and easy-to-work-with frosting that holds its shape beautifully, making it ideal for piping intricate designs or simply spreading a generous layer over your favorite treat. Plus, it’s incredibly customizable with a variety of flavor additions, making it a truly adaptable frosting for any occasion.
Introduction
Buttercream frosting is a staple in the world of baking, and for good reason! It’s the perfect finishing touch for cakes, cupcakes, and cookies, adding a touch of sweetness and elegance to any dessert. While there are many variations of buttercream, American buttercream is arguably the easiest and most approachable for home bakers. It’s a simple combination of butter, sugar, and liquid, but achieving the perfect texture and flavor requires a few key techniques.
This recipe provides a detailed, step-by-step guide to creating American buttercream that is consistently smooth, creamy, and delicious. We’ll explore the importance of using the right ingredients, mastering the mixing technique, and troubleshooting common issues to ensure your buttercream is always a success. Whether you’re a seasoned baker or just starting out, this recipe will empower you to create stunning desserts with confidence. We will use Vegetable Shortening to bring a nice crusting effect to it!
Ingredients:
- 1 cup unsalted butter, softened (2 sticks or 227g)
- 1 cup vegetable shortening (200g)
- 2 cups powdered sugar, sifted (approximately 240g)
- 1 tablespoon vanilla extract
- 1/4 teaspoon salt
- 3–4 tablespoons heavy cream (or milk)
Preparation:
Step 1: Soften the Butter and Shortening
The key to smooth buttercream lies in properly softened butter and shortening. Take the butter out of the refrigerator at least an hour before you plan to bake, or even longer if your kitchen is cool. You want it to be pliable but not melted. A good test is to gently press your finger into the butter; it should leave a slight indentation without being greasy. The Vegetable Shortening should also be at room temperature, which will allow the fat and sugar to aerate together nicely, creating a nice structure that results in a wonderful buttercream.
Step 2: Cream the Butter and Shortening
In a large mixing bowl, use an electric mixer (either a stand mixer or a hand mixer) to beat the softened butter and shortening together until smooth and creamy. This process, known as creaming, incorporates air into the fat, which contributes to the light and fluffy texture of the buttercream. Start on a medium-low speed to prevent the butter and shortening from splattering, then gradually increase the speed to medium. Beat for 2-3 minutes, or until the mixture is noticeably lighter in color and has a whipped appearance. If you’re using a stand mixer, use the paddle attachment. Scraping the sides of the bowl occasionally ensures even mixing.
Step 3: Gradually Add the Powdered Sugar
This step is crucial for achieving a smooth texture. Sifting the powdered sugar is essential to remove any lumps that can cause a grainy buttercream. Add the sifted powdered sugar to the creamed butter and shortening gradually, about 1/4 cup at a time. Beating well after each addition is important to allow the sugar to fully incorporate into the fat. Start on the lowest speed to prevent a powdered sugar cloud from engulfing your kitchen! As the mixture begins to combine, gradually increase the speed to medium. Continue adding the powdered sugar until it’s all incorporated.
Step 4: Add the Vanilla Extract and Salt
The vanilla extract adds a lovely flavor to the buttercream, while the salt balances the sweetness. Add the vanilla extract and salt to the bowl and beat until fully combined. Don’t skimp on the vanilla; it’s a key component of the overall flavor. You can also experiment with different extracts, such as almond, lemon, or peppermint, to customize the flavor of your buttercream.
Step 5: Adjust the Consistency with Heavy Cream (or Milk)
The amount of liquid you add will determine the consistency of your buttercream. Start by adding the heavy cream one tablespoon at a time, beating well after each addition. Heavy cream will result in a richer, more stable buttercream, but milk can also be used if you prefer a lighter option. Continue adding liquid until you reach your desired consistency. If you want a thicker buttercream for piping intricate designs, use less liquid. For a softer buttercream that’s easier to spread, use more liquid. Be careful not to add too much liquid, or the buttercream will become too thin.
Step 6: Beat Until Light and Fluffy
Once all the ingredients are combined, beat the mixture for another 3-4 minutes on medium speed until light, fluffy, and smooth. This final beating step helps to incorporate even more air into the buttercream, resulting in a truly delightful texture. You’ll notice the buttercream becoming noticeably lighter in color and more voluminous.
Step 7: Use or Store
Use the buttercream immediately to frost cakes, cupcakes, or cookies. It’s best to use buttercream fresh, as it’s at its peak texture and flavor. If you’re not using it right away, store leftovers in an airtight container in the refrigerator for up to a week. Before using refrigerated buttercream, allow it to come to room temperature and then re-beat it until smooth and creamy. This will restore its original texture.
COOKING Rating:
- Ease of Preparation: Easy
- Taste: Excellent
- Texture: Smooth and Creamy
- Versatility: High
Serving Suggestions:
- Frost cakes, cupcakes, and cookies.
- Use as a filling for macarons or cream puffs.
- Pipe decorative swirls or flowers onto desserts.
- Serve as a dip for fresh fruit or graham crackers.
- Add food coloring to create vibrant and colorful frostings.
Tips:
- Use high-quality butter for the best flavor.
- Sift the powdered sugar to prevent lumps.
- Don’t overbeat the buttercream, as it can become too soft.
- If the buttercream is too thick, add more liquid.
- If the buttercream is too thin, add more powdered sugar.
- Store leftover buttercream in an airtight container in the refrigerator for up to a week.
- Bring refrigerated buttercream to room temperature and re-beat before using.
- For a richer flavor, use salted butter instead of unsalted. Be sure to omit the 1/4 tsp salt.
- Add a pinch of espresso powder for a mocha-flavored buttercream.
- In place of Vanilla Extract, use Lemon Juice for Lemon Buttercream
Prep Time: 10 minutes
Cook Time: 5 minutes
Total Time: 15 minutes
Nutritional Information: (per serving, approximate)
- Calories: 250
- Protein: 1g
- Sodium: 30mg
Conclusion
This American buttercream recipe is a foundational skill for any baker. Its simplicity and versatility make it a go-to frosting for a wide range of desserts. By following these detailed instructions and helpful tips, you can consistently create buttercream that is smooth, creamy, and perfectly sweet. Whether you’re frosting a birthday cake, decorating cupcakes for a party, or simply adding a touch of sweetness to your favorite cookies, this recipe will help you achieve professional-looking results every time. So, gather your ingredients, fire up your mixer, and get ready to create the frosting of your dreams!
Frequently Asked Questions:
Q1: My buttercream is grainy. What did I do wrong?
A1: Grainy buttercream is often caused by not creaming the butter and shortening enough or by adding the powdered sugar too quickly. Make sure your butter and shortening are properly softened and creamed together until light and fluffy before adding the powdered sugar. Add the sugar gradually, about 1/4 cup at a time, and beat well after each addition. Also, ensure you’re using sifted powdered sugar to remove any lumps.
Q2: My buttercream is too thin. How can I thicken it?
A2: If your buttercream is too thin, gradually add more sifted powdered sugar, one tablespoon at a time, beating well after each addition. Be careful not to add too much sugar, as it can make the buttercream overly sweet. You can also try chilling the buttercream in the refrigerator for a few minutes to help it firm up.
Q3: My buttercream is too thick. How can I thin it?
A3: If your buttercream is too thick, gradually add more heavy cream (or milk), one teaspoon at a time, beating well after each addition. Be careful not to add too much liquid, as it can make the buttercream too thin.
Q4: Can I make this buttercream ahead of time?
A4: Yes, you can make this buttercream ahead of time and store it in an airtight container in the refrigerator for up to a week. Before using refrigerated buttercream, allow it to come to room temperature and then re-beat it until smooth and creamy. This will restore its original texture.
Q5: Can I add food coloring to this buttercream?
A5: Absolutely! You can add gel food coloring to this buttercream to create vibrant and colorful frostings. Gel food coloring is preferred over liquid food coloring because it’s more concentrated and won’t change the consistency of the buttercream as much. Add a small amount of food coloring at a time, mixing well after each addition, until you reach your desired color.