Description of this recipe: These dark chocolate truffles are a luxurious and surprisingly simple treat to make at home. With just a handful of ingredients, you can create a rich, decadent dessert that’s perfect for gifting, special occasions, or simply satisfying your chocolate cravings. This recipe yields classic dark chocolate truffles, allowing for creativity with coatings and flavor variations.
Why you will love this recipe: You’ll adore these truffles because they are unbelievably easy to make, require minimal ingredients, and deliver an intense chocolate experience. The smooth, melt-in-your-mouth texture is irresistible, and the deep dark chocolate flavor is sophisticated and satisfying. Plus, they’re endlessly customizable with different coatings, extracts, and even a hint of spice. This recipe is your gateway to becoming a truffle-making pro, guaranteed to impress friends and family!
Introduction
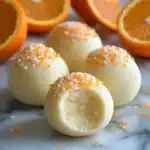
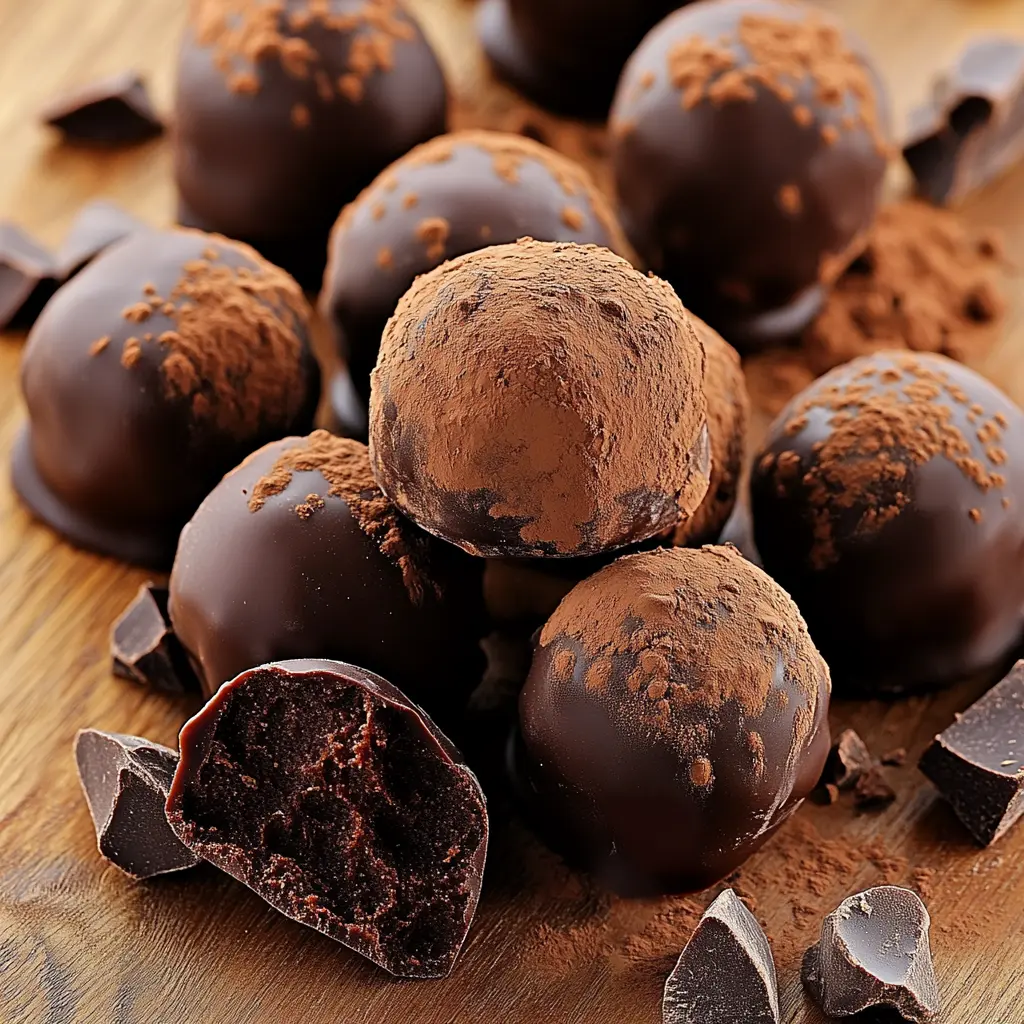
There’s something undeniably alluring about a chocolate truffle. Their perfectly round shape, often dusted with cocoa powder or adorned with nuts, hints at the rich, creamy indulgence within. While often associated with high-end chocolatiers, the truth is that making exceptional chocolate truffles at home is surprisingly easy. This recipe simplifies the process, focusing on quality ingredients and straightforward techniques to deliver a truffle that’s both intensely flavorful and incredibly satisfying. The key is using high-quality dark chocolate, as it’s the star of the show. From there, a bit of heavy cream, a touch of vanilla, and your choice of coating are all you need to transform simple ingredients into edible jewels. Whether you’re looking for a homemade gift, a dessert to impress, or simply a delightful treat for yourself, these dark chocolate truffles are the perfect solution. Prepare to be amazed by how easy it is to create such an elegant and delicious confection!
Ingredients:
- 8 oz Dark Chocolate, Chopped: Use a high-quality dark chocolate with a cocoa percentage between 60% and 70% for the best balance of bitterness and sweetness. Chopping the chocolate finely ensures it melts evenly and smoothly when combined with the cream. Chocolate chips can be substituted in a pinch, but the quality and flavor won’t be quite as nuanced.
- 1/2 cup Heavy Cream: Heavy cream (also known as whipping cream) provides the richness and smooth texture that defines a good truffle. The high fat content helps create a stable emulsion with the chocolate, resulting in a velvety ganache. Do not substitute with milk or half-and-half, as they won’t provide the necessary richness.
- 1 teaspoon Vanilla Extract: A touch of vanilla extract enhances the chocolate flavor and adds a subtle layer of complexity. Use pure vanilla extract for the best results; imitation vanilla extract can have a somewhat artificial taste.
- Cocoa Powder, for Rolling: Unsweetened cocoa powder is a classic coating for truffles, providing a slightly bitter counterpoint to the sweetness of the chocolate. It also creates a visually appealing matte finish. Dutch-processed cocoa powder is a good option, as it has a smoother, less acidic flavor than natural cocoa powder.
- Chopped Nuts or Sprinkles, Optional for Coating: Get creative with your coatings! Finely chopped nuts like almonds, pecans, or walnuts add a crunchy texture and nutty flavor. Sprinkles provide a festive touch, while other options include shredded coconut, freeze-dried fruit powder, or even a dusting of powdered sugar.
Preparation:
Step 1: Prepare the Chocolate: Place the chopped dark chocolate in a heatproof bowl. Make sure the bowl is completely dry, as any moisture can cause the chocolate to seize. A glass or stainless steel bowl works well.
Step 2: Heat the Cream: In a small saucepan, heat the heavy cream over medium heat. Watch carefully and stir occasionally to prevent scorching. You want the cream to just begin to simmer around the edges – small bubbles will start to form. It is crucial that you do not let the cream boil, as this can alter its texture and affect the final truffle. The heated cream is what melts the chocolate, so the temperature is important.
Step 3: Create the Ganache: Pour the hot cream over the chopped chocolate in the heatproof bowl. Let the mixture sit undisturbed for 2 minutes. This allows the hot cream to begin melting the chocolate without agitating it.
Step 4: Stir Until Smooth: Gently stir the mixture with a spatula, starting from the center and working your way outwards. Continue stirring until the chocolate melts completely and the mixture becomes smooth and glossy. The ganache should be homogenous, with no streaks or lumps of chocolate. If the chocolate doesn’t melt completely, you can place the bowl over a simmering pot of water (double boiler) and stir until smooth, being careful not to overheat the chocolate.
Step 5: Add Vanilla Extract: Stir in the vanilla extract to the melted chocolate ganache. This adds a subtle depth of flavor to the truffles.
Step 6: Refrigerate the Ganache: Cover the bowl with plastic wrap, pressing the wrap directly onto the surface of the ganache to prevent a skin from forming. Refrigerate for 1-2 hours, or until the ganache is firm enough to handle. The consistency should be similar to soft clay – firm enough to scoop and roll, but still pliable. The time in the refrigerator depends greatly on the temperature of the refrigerator, check every 30 minutes after an hour to see if it is ready.
Step 7: Scoop and Roll: Once the ganache has firmed up, use a small spoon, melon baller, or mini ice cream scoop to portion out the truffles. Roll each portion between your palms to form a smooth ball. Work quickly, as the heat from your hands will start to soften the ganache.
Step 8: Coat the Truffles: Roll each truffle in cocoa powder, chopped nuts, sprinkles, or any other desired coating. Make sure the truffles are completely coated.
Step 9: Chill Again: Place the coated truffles on a parchment-lined baking sheet or plate. Refrigerate for another 30 minutes to allow the coating to set and the truffles to firm up completely.
Step 10: Serve and Enjoy! Remove the truffles from the refrigerator about 10-15 minutes before serving to allow them to soften slightly. Store leftover truffles in an airtight container in the refrigerator for up to a week.
COOKING Rating:
- Ease of Preparation: Easy
- Taste: Rich, Decadent, Chocolatey
- Wow Factor: High
Serving Suggestions:
- Serve as an elegant dessert at a dinner party.
- Package in a decorative box or tin for a homemade gift.
- Enjoy with a cup of coffee or a glass of dessert wine.
- Serve alongside fresh berries or whipped cream.
- Include in a dessert platter with other small treats.
Tips:
- Use High-Quality Chocolate: The better the chocolate, the better the truffles will taste.
- Don’t Overheat the Cream: Heating the cream too much can affect the texture of the ganache.
- Work Quickly: The ganache will soften as you handle it, so work efficiently to keep the truffles firm.
- Get Creative with Coatings: Experiment with different nuts, sprinkles, spices, and powders to create unique flavor combinations.
- Adjust Sweetness: If you prefer a sweeter truffle, you can add a tablespoon or two of powdered sugar to the ganache.
Prep Time:
- 15 minutes
Cook Time:
- 5 minutes
Total Time:
- 2 hours 20 minutes (includes chilling time)
Nutritional Information:
(Approximate values, may vary based on specific ingredients used)
- Calories: 150-200 per truffle
- Protein: 2g per truffle
- Sodium: 5mg per truffle
Conclusion
Congratulations! You’ve just created a batch of incredibly decadent and delicious dark chocolate truffles. This recipe demonstrates that elegant and sophisticated desserts don’t have to be complicated. With just a few simple ingredients and some patience, you can create a treat that’s sure to impress. The beauty of this recipe lies in its versatility. Feel free to experiment with different types of chocolate, extracts, and coatings to create your own signature truffle. Whether you’re gifting them to loved ones or indulging in them yourself, these dark chocolate truffles are a testament to the power of simple ingredients and thoughtful preparation. So go ahead, treat yourself to a little bit of chocolate bliss!
Questions and Answers:
Q1: Can I use milk chocolate instead of dark chocolate?
A: Yes, you can use milk chocolate! However, the resulting truffles will be much sweeter. You might want to reduce the amount of heavy cream slightly, perhaps by a tablespoon, to compensate for the increased sweetness and ensure the ganache sets properly. Also, keep in mind that milk chocolate ganache can be more sensitive to temperature changes, so handle it gently during the rolling process. Experimenting with different ratios of milk to dark chocolate can also create interesting flavor profiles.
Q2: What if my ganache is too soft after chilling?
A: If your ganache is too soft after the initial chilling period, simply place it back in the refrigerator for another 30-60 minutes, checking its consistency periodically. Factors like the temperature of your refrigerator, the humidity in your kitchen, and the specific type of chocolate used can all affect how quickly the ganache sets. If it’s still too soft after that, you can even place it in the freezer for a short period (15-20 minutes) to speed up the firming process, but be careful not to freeze it solid!
Q3: Can I add alcohol to the truffles?
A: Absolutely! Adding a splash of liqueur can enhance the flavor of the truffles and add a touch of sophistication. A tablespoon or two of a complementary liqueur, such as rum, brandy, Irish cream, or coffee liqueur, can be stirred into the ganache after the vanilla extract. Be mindful not to add too much liquid, as it can affect the consistency of the ganache.
Q4: How long will these truffles last?
A: These truffles will last for up to a week when stored in an airtight container in the refrigerator. The cool temperature helps preserve their texture and prevents them from melting. For longer storage, you can freeze the truffles for up to a month. Thaw them in the refrigerator overnight before serving. Keep in mind that frozen truffles may develop a slightly different texture after thawing.
Q5: What are some other coating ideas besides cocoa powder and nuts?
A: The possibilities are endless! Consider using:
- Powdered Sugar: Creates a sweet, snowy coating.
- Shredded Coconut: Adds a tropical flavor and texture.
- Freeze-Dried Fruit Powder: Provides a vibrant color and fruity flavor.
- Crushed Cookies or Pretzels: Offers a crunchy and salty contrast.
- Drizzled Melted Chocolate: Use white, milk, or dark chocolate for a decorative touch.
- Edible Glitter: Adds a sparkly, festive finish.
- Spices (Cinnamon, Chili Powder): Infuses warmth and complexity.