Description of this recipe:
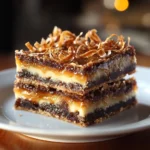
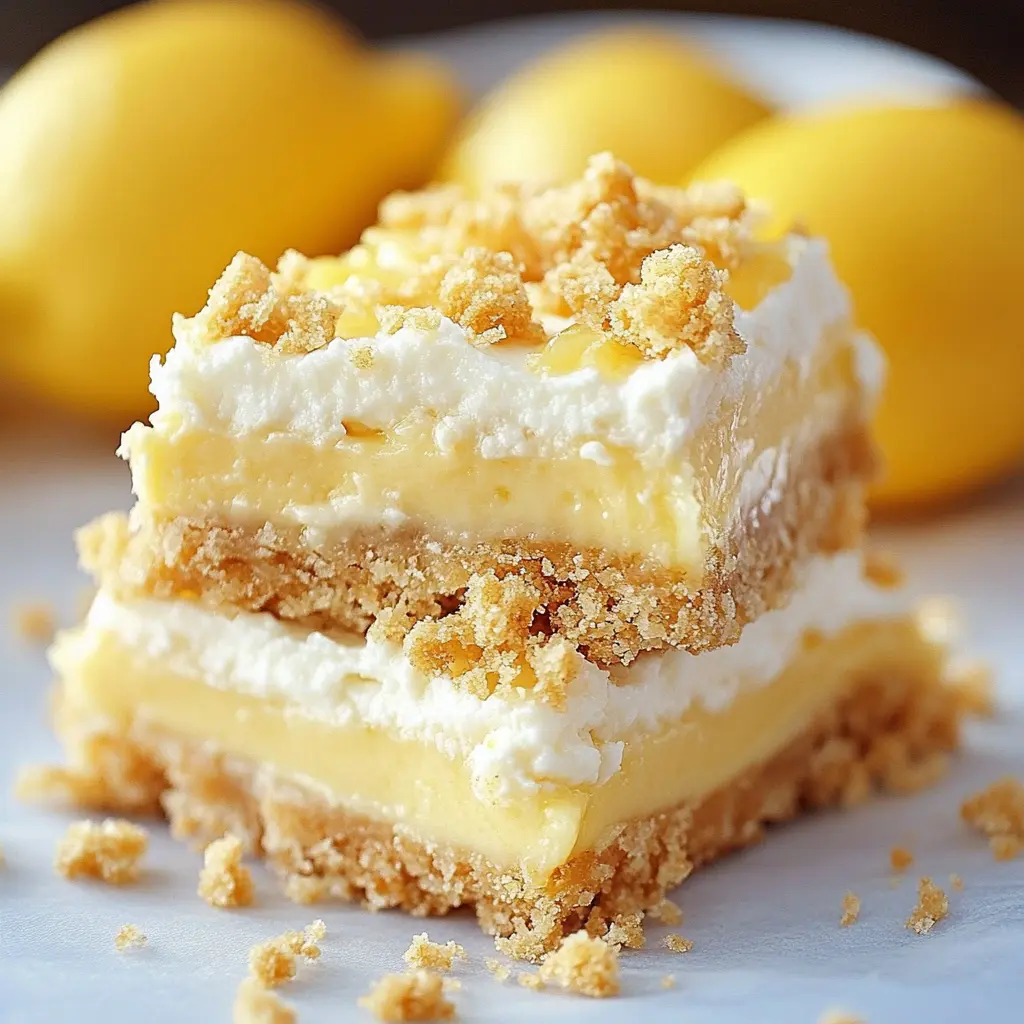
These Lemon Cheesecake Crumb Bars are a delightful fusion of textures and flavors. Imagine a buttery, sweet, and slightly nutty oat crumb crust, a creamy and tangy lemon cheesecake filling, all topped with more of that irresistible crumb. These bars are perfect for a spring or summer dessert, bringing together the comforting warmth of a crumb topping with the bright, refreshing zing of lemon. Easy to make and incredibly satisfying, these bars are guaranteed to be a crowd-pleaser.
Why you will love this recipe:
These Lemon Cheesecake Crumb Bars are a winner for so many reasons! First, they’re surprisingly simple to make, especially given their impressive presentation and complex flavors. The crumb mixture is versatile – it forms both the base and the topping, saving you time and effort. The lemon cheesecake filling is rich and creamy, striking the perfect balance between sweet and tart. The combination of the buttery, crumbly texture with the smooth, decadent filling is simply heavenly. Plus, these bars are perfect for making ahead of time, as they taste even better after chilling in the refrigerator for a few hours. Whether you’re serving them at a brunch, potluck, or just enjoying a sweet treat at home, these bars are sure to be a hit!
Ingredients:
For the Crumb Crust & Topping:
- 2 cups all-purpose flour
- 1 ½ cups brown sugar
- 1 cup (2 sticks) cold unsalted butter, sliced
- 1 ½ cups old-fashioned rolled oats
For the Lemon Cheesecake Filling:
- 2 (8 oz.) packages cream cheese, room temperature
- ½ cup granulated sugar
- 3 large eggs
- ¼ cup milk
- 1 teaspoon vanilla extract
- ¼ cup fresh lemon juice
- 1 teaspoon lemon zest
Preparation:
Step 1: Prepare the baking dish and preheat the oven.
Preheat your oven to 350°F (175°C). This temperature is ideal for baking the crumb crust and cheesecake filling without burning the topping. Grease a 9×13-inch baking dish thoroughly with butter or cooking spray. Alternatively, line the dish with parchment paper or aluminum foil, leaving an overhang on the sides for easy removal of the bars after baking. Grease the parchment paper or foil as well. This will prevent the bars from sticking to the dish and make cleanup a breeze.
Step 2: Make the Crumb Mixture.
In a large bowl, whisk together the all-purpose flour and brown sugar. This ensures that the brown sugar is evenly distributed throughout the flour, which will contribute to a more consistent and flavorful crumb. Add the cold butter slices to the bowl. Using a pastry blender or your fingertips, cut the butter into the flour mixture until it resembles coarse crumbs. The butter should be cold to prevent it from melting and creating a greasy mixture. The coarse crumbs are essential for the crumbly texture of the crust and topping. Stir in the rolled oats until just combined. Be careful not to overmix, as this can result in a tough crust.
Step 3: Reserve Crumb Topping and Press Remaining into Crust.
Reserve 1 ½ cups of the crumb mixture for topping. This will be sprinkled over the cheesecake filling before baking, adding a layer of sweetness and texture. Press the remaining crumb mixture evenly into the bottom of the prepared baking dish. Use the bottom of a measuring cup or your fingers to firmly press the mixture into a compact layer. This will form the base of your lemon cheesecake bars.
Step 4: Bake the Crust.
Bake the crust in the preheated oven for 10 minutes. This pre-baking step helps to set the crust and prevent it from becoming soggy when the cheesecake filling is added. While the crust is baking, prepare the lemon cheesecake filling.
Step 5: Make the Lemon Cheesecake Filling.
In a large bowl, beat the cream cheese and granulated sugar together until smooth and creamy. It’s important that the cream cheese is at room temperature to prevent lumps from forming in the filling. Use an electric mixer or a whisk to thoroughly combine the cream cheese and sugar, ensuring that there are no visible lumps. Add the eggs one at a time, mixing well after each addition. This will help to incorporate the eggs evenly into the filling and prevent overmixing. Stir in the milk, vanilla extract, lemon juice, and lemon zest. Mix until well combined. The lemon juice and zest add a bright, refreshing flavor to the cheesecake filling, balancing the richness of the cream cheese.
Step 6: Assemble the Bars.
Pour the lemon cheesecake filling over the pre-baked crust and spread it evenly with a spatula. Sprinkle the reserved crumb mixture evenly over the top of the filling. Gently press the crumb topping into the filling to help it adhere during baking.
Step 7: Bake the Bars.
Bake in the preheated oven for 15-20 minutes, or until the top is lightly golden brown and the filling is set. The baking time may vary depending on your oven, so check the bars frequently to prevent overbaking. The filling should be slightly jiggly in the center but not liquid.
Step 8: Cool and Refrigerate.
Remove the bars from the oven and let them cool completely in the baking dish. Once cooled, cover the dish with plastic wrap or foil and refrigerate for at least 2 hours before slicing and serving. Chilling the bars will allow the filling to set completely and make them easier to slice.
COOKING Rating:
Easy
Serving Suggestions:
These Lemon Cheesecake Crumb Bars are delicious on their own, but they can also be served with a variety of accompaniments.
- Fresh Berries: Serve the bars with a side of fresh raspberries, blueberries, or strawberries for a burst of natural sweetness and color.
- Whipped Cream: Top the bars with a dollop of freshly whipped cream for added richness and creaminess.
- Lemon Curd: Drizzle a small amount of lemon curd over the bars for an extra layer of lemon flavor.
- Vanilla Ice Cream: Serve the bars warm with a scoop of vanilla ice cream for a decadent dessert experience.
- Powdered Sugar: Dust the bars with powdered sugar for a simple and elegant presentation.
Tips:
- Use Cold Butter: The key to a crumbly crust is using cold butter. If the butter is too soft, the crust will be greasy.
- Don’t Overmix: Overmixing the crumb mixture can result in a tough crust. Mix until just combined.
- Room Temperature Cream Cheese: Make sure the cream cheese is at room temperature to prevent lumps in the filling.
- Fresh Lemon Juice and Zest: Using fresh lemon juice and zest will give the filling a brighter, more vibrant flavor.
- Chill Thoroughly: Chilling the bars for at least 2 hours will allow the filling to set and make them easier to slice.
- Cut with a Warm Knife: To prevent the bars from crumbling when slicing, use a warm, sharp knife. Run the knife under hot water and dry it before each cut.
- Variations: Add blueberries, raspberries, or white chocolate chips to the cheesecake filling for a different twist. You can also use different types of citrus zest, such as lime or orange.
Prep Time:
20 minutes
Cook Time:
30-35 minutes
Total Time:
At least 2 hours and 50-55 minutes (includes chilling time)
Nutritional Information (per serving):
(Note: Nutritional information is an estimate and may vary depending on specific ingredients and portion sizes.)
- Calories: Approximately 350-400
- Protein: 5-7g
- Sodium: 150-200mg
Conclusion:
Lemon Cheesecake Crumb Bars are a delightful dessert that combines the best of both worlds: a buttery, crumbly crust and a creamy, tangy cheesecake filling. They are easy to make, perfect for any occasion, and sure to impress your family and friends. With their bright lemon flavor and irresistible texture, these bars are a guaranteed winner. So, gather your ingredients, preheat your oven, and get ready to create a batch of these heavenly treats. You won’t be disappointed! These Lemon Cheesecake Crumb Bars are not just a dessert; they’re an experience. The contrasting textures of the crumbly crust and the smooth, creamy filling create a symphony in your mouth. The lemon adds a refreshing zing that cuts through the richness of the cheesecake, making each bite irresistible.
Furthermore, the versatility of this recipe allows you to customize it to your liking. Feel free to experiment with different types of citrus, add your favorite berries, or even incorporate a hint of spice. The possibilities are endless.
Whether you’re a seasoned baker or a novice in the kitchen, this recipe is approachable and rewarding. The simple steps and readily available ingredients make it a breeze to whip up a batch of these bars, and the end result is always impressive.
So, why wait? Treat yourself and your loved ones to a slice of sunshine with these Lemon Cheesecake Crumb Bars. They’re the perfect way to brighten any day and add a touch of sweetness to your life.
5 Questions and Answers About This Recipe:
Q1: Can I use a different type of flour for the crust?
A: Yes, you can substitute all-purpose flour with whole wheat flour for a nuttier flavor and slightly denser texture. However, keep in mind that whole wheat flour absorbs more liquid, so you may need to add a tablespoon or two of water to the crumb mixture to help it come together.
Q2: Can I make these bars ahead of time?
A: Absolutely! In fact, these bars taste even better after they’ve been chilled in the refrigerator for a few hours. You can make them up to 2 days in advance and store them covered in the refrigerator.
Q3: Can I freeze these bars?
A: Yes, you can freeze these bars for up to 2 months. Wrap them tightly in plastic wrap and then in a freezer-safe bag or container. Thaw them overnight in the refrigerator before serving.
Q4: Can I use store-bought lemon juice instead of fresh?
A: While fresh lemon juice is always preferred for its brighter flavor, you can use store-bought lemon juice in a pinch. However, be sure to use a high-quality brand and adjust the amount to taste. You may also want to add a little extra lemon zest to enhance the lemon flavor.
Q5: My crumb topping is browning too quickly. What can I do?
A: If you notice that the crumb topping is browning too quickly, you can tent the baking dish with aluminum foil during the last few minutes of baking. This will prevent the topping from burning while allowing the filling to finish cooking. Alternatively, you can lower the oven temperature by 25 degrees and bake the bars for a few minutes longer.