Description of this Recipe
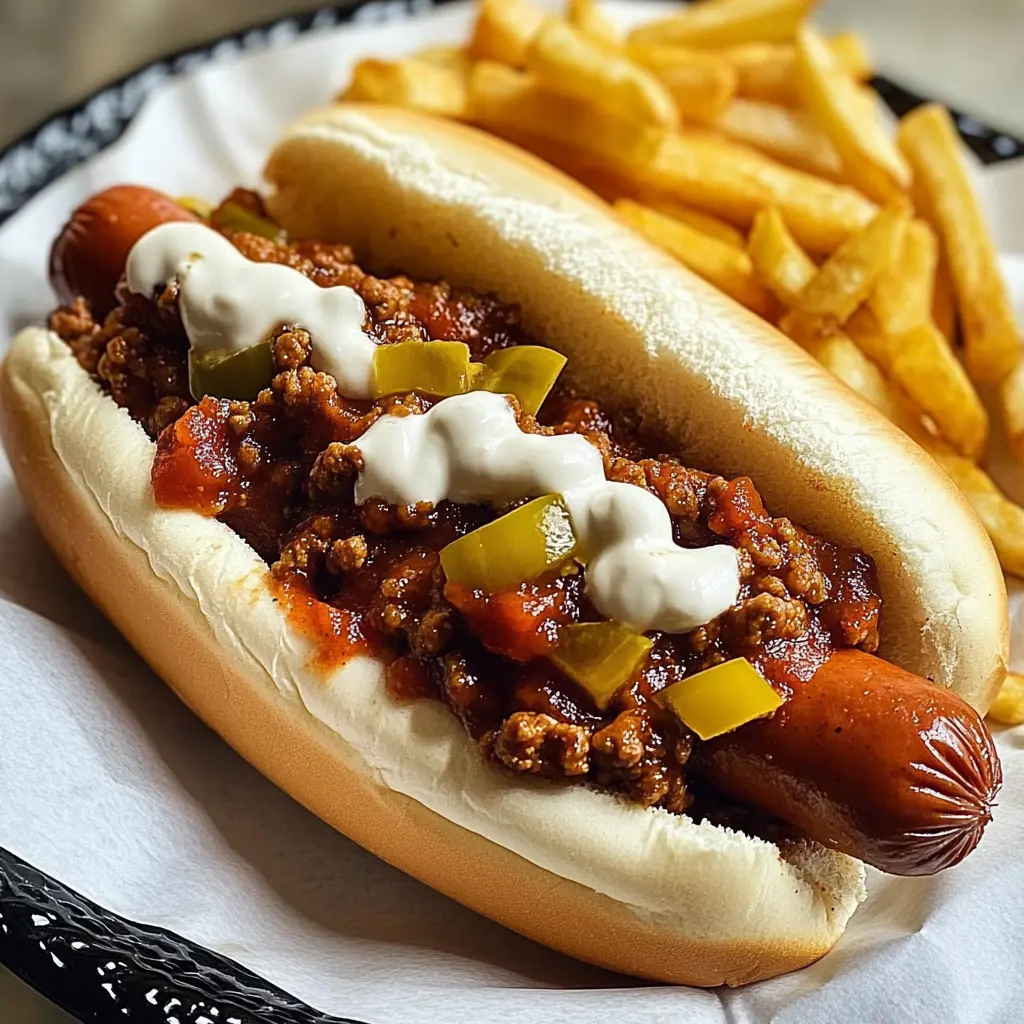
Chili Dogs! Need I say more? This isn’t just a hot dog; it’s a culinary experience. Imagine sinking your teeth into a juicy, perfectly grilled hot dog, nestled in a warm, pillowy bun, smothered in a rich, flavorful chili, and topped with a generous layer of melted cheddar cheese. It’s a symphony of flavors and textures that dance on your palate, a comforting classic that’s perfect for a quick lunch, a casual dinner, or a backyard barbecue. This recipe takes the humble hot dog to new heights, transforming it into a satisfying and unforgettable meal. We’re talking about a hearty, robust chili simmered to perfection, loaded with savory ground beef and a medley of spices that will tantalize your taste buds. This chili is not your average canned variety; it’s a homemade masterpiece that elevates the entire chili dog experience.
Why You Will Love This Recipe
You’ll love this chili dog recipe because it’s incredibly easy to make, satisfyingly delicious, and endlessly customizable. Whether you’re a seasoned chef or a kitchen novice, you can whip up a batch of these bad boys in no time. The chili comes together quickly on the stovetop, and the hot dogs can be grilled, pan-fried, or even microwaved (though I strongly recommend grilling for that authentic char). But the real magic lies in the flavor. The combination of savory ground beef, diced tomatoes, and a blend of chili powder, cumin, and smoked paprika creates a chili that’s both robust and nuanced. The melted cheddar cheese adds a creamy, comforting element, while the optional toppings like diced onions, mustard, and jalapeños allow you to tailor the chili dog to your personal preferences. Plus, this recipe is a crowd-pleaser. Kids and adults alike will devour these chili dogs, making them the perfect choice for family gatherings, potlucks, or any occasion where you want to serve up something quick, easy, and utterly irresistible. It’s a guaranteed home run every time. Moreover, it’s an amazing dish for game days, movie nights, or any time you crave a little bit of classic comfort food.
Ingredients:
- 8 hot dog buns
- 8 beef hot dogs or frankfurters
- 1 tablespoon vegetable oil
- 1/2 onion, finely chopped
- 1 garlic clove, minced
- 1/2 lb (225g) ground beef
- 1 cup canned diced tomatoes
- 2 tablespoons tomato paste
- 1 teaspoon chili powder
- 1/2 teaspoon cumin
- 1/4 teaspoon smoked paprika
- Salt and pepper to taste
- 1/4 cup water
- 1 cup shredded cheddar cheese
- Optional toppings: diced onions, mustard, jalapeños
Preparation:
Step 1: Heat the vegetable oil in a large skillet over medium heat. Make sure the skillet is large enough to accommodate the ground beef and diced tomatoes comfortably. A 12-inch skillet is ideal.
Step 2: Add the finely chopped onion and minced garlic to the skillet. Sauté until the onion becomes softened and translucent, and the garlic releases its fragrant aroma. This usually takes about 3 minutes. Stir frequently to prevent the garlic from burning.
Step 3: Add the ground beef to the skillet and cook until browned, breaking it up with a spoon or spatula as it cooks. Ensure the beef is cooked through completely and there are no pink spots remaining. Drain any excess fat from the skillet to prevent the chili from becoming greasy. Nobody likes a greasy chili!
Step 4: Stir in the canned diced tomatoes, tomato paste, chili powder, cumin, smoked paprika, salt, pepper, and water. Mix well to combine all the ingredients. The tomato paste adds richness and depth to the chili, while the spices provide that classic chili flavor. Don’t be afraid to adjust the amount of spices to your liking. If you prefer a spicier chili, add a pinch of cayenne pepper or a dash of hot sauce.
Step 5: Reduce the heat to low, cover the skillet, and simmer gently for 15-20 minutes, stirring occasionally, until the chili thickens and the flavors meld together. This simmering time is crucial for allowing the chili to develop its full flavor potential. The longer it simmers, the richer and more complex the chili will become.
Step 6: While the chili simmers, prepare the hot dogs. Grill, pan-fry, or boil the hot dogs until they are heated through and slightly charred on the outside. Grilling the hot dogs over an open flame is the preferred method, as it imparts a smoky flavor that complements the chili perfectly. If you don’t have a grill, pan-frying them in a skillet with a little bit of oil works just as well.
Step 7: Warm the hot dog buns by lightly toasting them in the oven or on a skillet. Toasting the buns adds a pleasant crunch and prevents them from becoming soggy when the chili is added. You can also steam the buns for a softer, more pliable texture.
Step 8: Assemble the chili dogs by placing each hot dog in a bun. Generously spoon the chili mixture over the hot dog, ensuring that it covers the entire hot dog from end to end. Don’t be shy with the chili; the more, the merrier!
Step 9: Top with shredded cheddar cheese and any other optional toppings, such as diced onions, mustard, or jalapeños. The cheddar cheese adds a creamy, comforting element that complements the savory chili. Diced onions provide a sharp, pungent bite, while mustard adds a tangy zest. Jalapeños add a fiery kick for those who like a little bit of heat.
Step 10: Serve immediately for a comforting, hearty meal. These chili dogs are best enjoyed fresh off the grill or stovetop. Serve them with a side of coleslaw, potato salad, or corn on the cob for a complete and satisfying meal.
Cooking Rating:
Easy
Serving Suggestions:
- Serve with a side of coleslaw or potato salad.
- Offer a variety of toppings, such as diced onions, mustard, jalapeños, and relish.
- Serve with tortilla chips for scooping up any extra chili.
- Pair with a cold beverage, such as iced tea or lemonade.
- Make it a chili cheese fry night. Just top some french fries with the chili and cheese for a delicious appetizer.
Tips:
- For a spicier chili, add a pinch of cayenne pepper or a dash of hot sauce.
- To make the chili ahead of time, simply prepare it as directed and store it in the refrigerator for up to 3 days. Reheat before serving.
- For a vegetarian option, substitute the ground beef with plant-based crumbles.
- Try different types of cheese, such as Monterey Jack or pepper jack, for a different flavor profile.
- If you don’t have hot dog buns, you can use hoagie rolls or even hamburger buns.
- Make sure to watch the heat of the pan, you do not want to burn the garlic. Low and slow is the name of the game!
- Get creative with your toppings! Sour cream, guacamole, or a fried egg would also work well.
Prep Time: 10 minutes
Cook Time: 25 minutes
Total Time: 35 minutes
Nutritional Information: (Approximate, per serving)
- Calories: 450
- Protein: 25g
- Sodium: 1200mg
Conclusion:
These chili dogs are more than just a quick and easy meal; they’re a celebration of flavor and a testament to the power of simple ingredients. From the savory chili to the juicy hot dog and the melted cheddar cheese, every element of this dish works in perfect harmony to create a truly unforgettable culinary experience. So, whether you’re looking for a comforting weeknight dinner, a crowd-pleasing party snack, or a delicious way to spice up your next barbecue, look no further than this classic chili dog recipe. It’s guaranteed to be a hit! You can adjust anything according to your personal preferences. Want it spicier? Add more chili powder or jalapeños. Want a sweeter chili? Add a touch of brown sugar. The possibilities are endless! So get creative, have fun, and enjoy the deliciousness that is the chili dog. This recipe is a surefire way to make your next cookout a success! The simplicity of the recipe makes it an accessible meal to anyone who wants a quick delicious bite to eat.
Questions and Answers:
Q1: Can I make the chili ahead of time?
A1: Absolutely! In fact, I highly recommend making the chili a day or two in advance. This allows the flavors to meld together even more, resulting in a richer, more complex chili. Just store it in an airtight container in the refrigerator and reheat it before serving.
Q2: Can I use a different type of meat in the chili?
A2: Of course! While ground beef is the traditional choice, you can easily substitute it with ground turkey, ground chicken, or even ground sausage. Each type of meat will impart a slightly different flavor to the chili, so experiment to find your favorite. You could even use a combination of meats for a truly unique chili experience.
Q3: What if I don’t have chili powder?
A3: No problem! You can make your own chili powder blend by combining equal parts of cumin, paprika, oregano, and garlic powder. Add a pinch of cayenne pepper for a little bit of heat. Adjust the proportions to your liking to create a chili powder blend that suits your taste.
Q4: Can I freeze the chili?
A4: Yes, you can definitely freeze the chili. Allow it to cool completely before transferring it to a freezer-safe container. It can be stored in the freezer for up to 3 months. When you’re ready to use it, thaw it overnight in the refrigerator and reheat it on the stovetop.
Q5: What are some other toppings I can add to my chili dogs?
A5: The possibilities are endless! Some other delicious toppings include shredded lettuce, chopped tomatoes, sour cream, guacamole, crumbled bacon, and even a fried egg. Get creative and experiment with different combinations to find your perfect chili dog creation. Don’t be afraid to think outside the bun!