Description of this recipe:
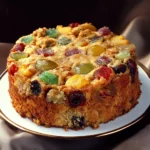
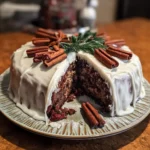
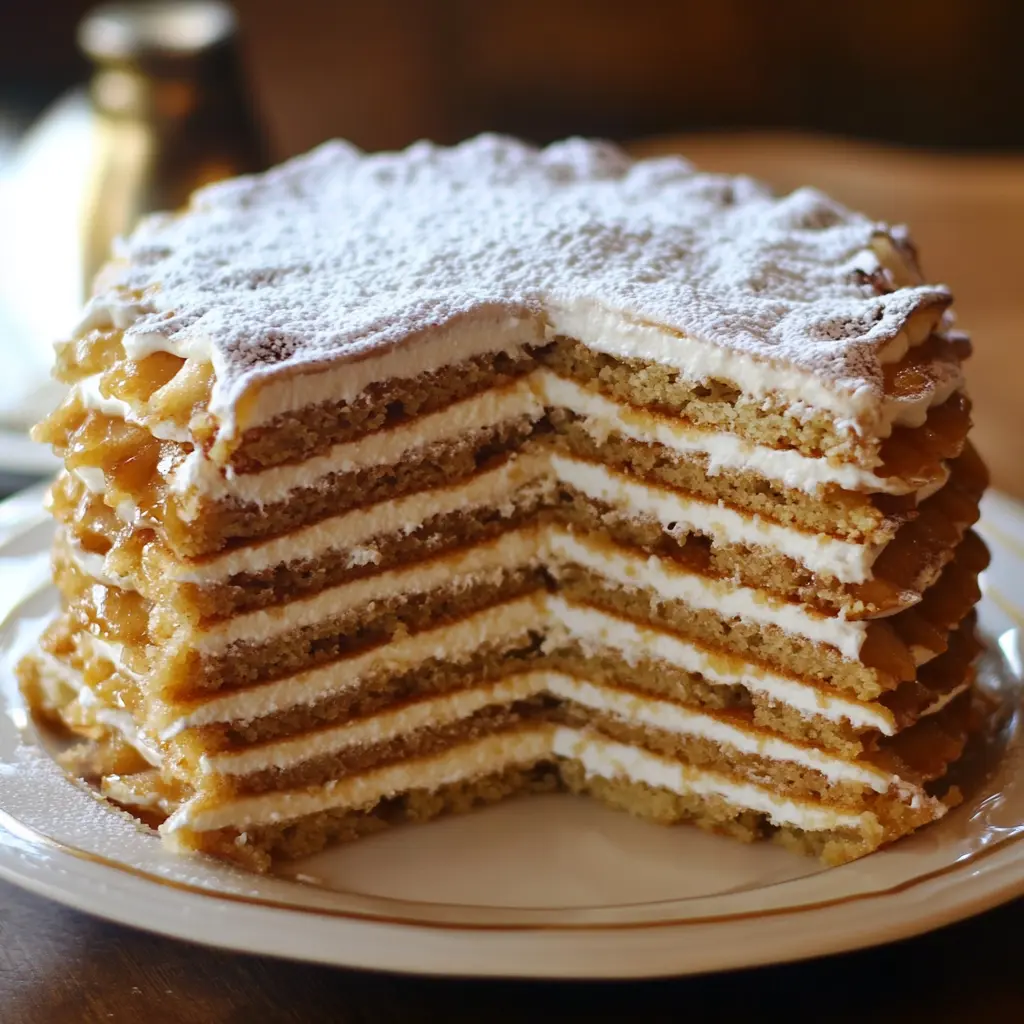
Apple Stack Cake is more than just a dessert; it’s a piece of Appalachian history and a symbol of community. This cake features layers of thin, crisp, and lightly sweetened cakes stacked with a rich, spiced apple filling. It’s traditionally made with dried apples, rehydrated and cooked down into a sweet and tangy sauce. This cake isn’t meant to be eaten right away; it requires patience, allowing the layers to soften and the flavors to meld over a day or two. The result is a moist, flavorful cake with a unique texture and a comforting, nostalgic taste.
Why you will love this recipe:
- A taste of history: This recipe connects you to a time when communities relied on simple, readily available ingredients and shared the labor of creating something special.
- Unforgettable Flavor: The combination of spiced apples and tender cake layers creates a harmonious blend of sweetness and warmth, perfect for any occasion.
- Unique Texture: Unlike traditional cakes, Apple Stack Cake gets better with time. The softened layers create a moist and slightly chewy texture that’s incredibly satisfying.
- Perfect for Sharing: This cake is designed to be shared, making it ideal for gatherings, holidays, or any time you want to bring people together around a delicious treat.
- Impressive and Rustic: The layered appearance of the cake is both beautiful and rustic, making it a stunning centerpiece for any table.
Introduction
Apple Stack Cake holds a special place in Appalachian culinary history. It was born out of necessity and resourcefulness, using dried apples that could be stored throughout the winter months. Families would often collaborate, with each household contributing a layer to the stack cake. This recipe offers a modern take on this classic, retaining the authentic flavors and traditions while providing clear instructions for a successful bake. This isn’t a quick cake; it requires time and patience. However, the end result is a deeply satisfying and flavorful cake that embodies the spirit of Appalachian hospitality. The cake is meant to be served a day or two after it’s made to allow the moisture from the apple filling to seep into the cake layers. This is what gives the cake its unique, moist, and tender texture.
Ingredients:
For the Apple Filling:
- 16 ounces dried apples, chopped (about 4 cups)
- 5 cups water
- 1 cup packed brown sugar
- 2 teaspoons apple pie spice (or a blend of cinnamon, nutmeg, and allspice)
For the Cake Layers:
- 1 cup (2 sticks) unsalted butter, softened
- 2 cups granulated sugar
- 2 large eggs, room temperature
- 2 teaspoons vanilla extract
- 6 cups all-purpose flour
- 3 teaspoons baking powder
- 1 teaspoon baking soda
- 1/2 cup buttermilk
Optional Garnish:
- Confectioners’ sugar, for dusting
Preparation:
Step 1: Prepare the Apple Filling
Place the chopped dried apples and water in a large 6-quart stockpot. Bring the mixture to a boil over medium-high heat. Once boiling, reduce the heat to low, cover loosely and simmer for 40-45 minutes, or until the apples are softened and easily mashed with a fork. Stir occasionally to prevent sticking.
Step 2: Mash and Season the Apples
Remove the pot from the heat and use a potato masher or a large fork to mash the softened apples into a chunky sauce. It’s okay if there are still some small pieces of apple remaining; this will add texture to the filling. Stir in the packed brown sugar and apple pie spice.
Step 3: Thicken the Filling
Return the pot to the stovetop over low heat. Simmer the apple mixture, uncovered, for another 10-15 minutes, or until the liquid is absorbed and the sauce has thickened to a spreadable consistency. Stir frequently to prevent scorching. The filling should be thick enough to hold its shape on a spoon.
Step 4: Cool the Apple Filling
Remove the apple filling from the heat and transfer it to a bowl. Allow it to cool completely to room temperature. You can speed up the cooling process by placing the bowl in the refrigerator for a while.
Step 5: Preheat the Oven and Prepare Baking Sheets
Preheat your oven to 400°F (200°C). Line two large baking sheets with parchment paper. This will prevent the cake layers from sticking and make them easier to remove.
Step 6: Cream Butter and Sugar
In a large mixing bowl (or the bowl of a stand mixer), cream together the softened butter and granulated sugar until light and fluffy. This process typically takes 5-7 minutes. The mixture should become noticeably paler and increase in volume as air is incorporated. Scraping down the sides of the bowl periodically will ensure even mixing.
Step 7: Add Eggs and Vanilla
Add the eggs, one at a time, to the creamed butter and sugar mixture, beating well after each addition. Make sure each egg is fully incorporated before adding the next. Stir in the vanilla extract.
Step 8: Combine Dry and Wet Ingredients
In a separate medium-sized bowl, whisk together the all-purpose flour, baking powder, and baking soda. This ensures that the leavening agents are evenly distributed throughout the flour. Gradually add the dry ingredients to the wet ingredients (the creamed butter, sugar, eggs, and vanilla), alternating with the buttermilk. Begin and end with the dry ingredients, adding them in two to three additions. Beat until just combined; do not overmix. Overmixing can develop the gluten in the flour, resulting in a tough cake.
Step 9: Divide the Dough
Divide the dough into eight equal portions. A kitchen scale can be helpful for achieving accurate portions. Shape each portion into a flat disk.
Step 10: Roll Out the Cake Layers
Cut out eight 9-inch circles of parchment paper. Place one dough disk on a lightly floured surface. Using a floured rolling pin, roll out the dough to fit one of the parchment paper circles. If the dough sticks to the rolling pin or surface, add a bit more flour.
Step 11: Transfer to Baking Sheets and Bake
Carefully transfer the rolled-out dough (still on the parchment paper) to a prepared baking sheet. Repeat with the remaining dough disks and parchment paper circles. Bake in the preheated oven for 10-12 minutes, or until the edges of the cake layers are golden brown. Watch carefully to avoid burning.
Step 12: Cool the Cake Layers
Remove the baking sheets from the oven and transfer the cake layers (still on the parchment paper) to wire racks to cool completely.
Step 13: Assemble the Cake
Place one cake layer on a serving plate or cake stand. Spread approximately 2/3 cup of the cooled apple filling evenly over the cake layer, leaving a small border around the edge. Repeat with the remaining cake layers and apple filling, stacking them one on top of the other. Top the stack with the final cake layer.
Step 14: Wrap and Refrigerate
Wrap the assembled cake tightly in plastic wrap. Refrigerate for at least 24-48 hours to allow the layers to soften and the flavors to meld.
Step 15: Serve
Before serving, remove the cake from the refrigerator and dust with confectioners’ sugar, if desired. Slice and enjoy!
COOKING Rating:
- Difficulty: Medium
- Time Commitment: High (requires multiple steps and chilling time)
Serving Suggestions:
- Serve chilled or at room temperature.
- Enjoy with a scoop of vanilla ice cream or a dollop of whipped cream.
- Pair with a warm cup of coffee or tea.
- Offer alongside other Appalachian desserts, such as fried apples or sweet potato pie.
Tips:
- Quality Apples: Use high-quality dried apples for the best flavor.
- Don’t Overmix: Avoid overmixing the cake batter, as this can result in tough layers.
- Even Layers: Roll out the cake layers to a consistent thickness for even baking and stacking.
- Patience is Key: The chilling period is essential for the cake to achieve its characteristic texture.
- Make Ahead: The apple filling can be made several days in advance and stored in the refrigerator.
Prep Time:
- 30 minutes
Cook Time:
- 1 hour
Total Time:
- At least 25.5 hours (including chilling time)
Nutritional Information:
- Note: Nutritional information is approximate and will vary based on specific ingredients and portion sizes.
- Calories: Approximately 400-450 per slice
- Protein: 4-6 grams per slice
- Sodium: 150-200 mg per slice
Conclusion
Apple Stack Cake is more than just a recipe; it’s a celebration of tradition, community, and the simple pleasures of good food. While it requires time and patience, the rewarding flavors and textures are well worth the effort. Whether you’re a seasoned baker or new to Appalachian cuisine, this recipe offers a unique and unforgettable culinary experience. Enjoy sharing this taste of history with your loved ones!
Questions and Answers:
Q1: Can I use fresh apples instead of dried apples for the filling?
A: While you can technically use fresh apples, the result will be different. Dried apples provide a concentrated sweetness and a unique chewy texture that’s characteristic of Apple Stack Cake. If you choose to use fresh apples, peel, core, and chop them. You will likely need to adjust the amount of sugar and spices and cook them down until they are soft and thickened, similar to the consistency of the dried apple filling. Be sure to reduce the water content significantly to prevent the filling from being too watery.
Q2: How can I prevent the cake layers from sticking to the parchment paper?
A: Make sure your parchment paper is of good quality and that you’ve lightly floured your work surface before rolling out the dough. If you’re still experiencing sticking, you can lightly grease the parchment paper with butter or cooking spray before placing the rolled-out dough on top. Be gentle when transferring the baked cake layers to the wire racks to cool.
Q3: Can I freeze Apple Stack Cake?
A: Yes, you can freeze Apple Stack Cake. Wrap the assembled and chilled cake tightly in plastic wrap, then wrap it again in aluminum foil. Freeze for up to 2-3 months. To thaw, transfer the cake to the refrigerator overnight.
Q4: What if I don’t have buttermilk?
A: If you don’t have buttermilk, you can make a simple substitute. Add 1 tablespoon of white vinegar or lemon juice to a liquid measuring cup. Then, add enough milk (whole or 2%) to reach the 1/2 cup mark. Stir and let stand for 5 minutes before using. This will create a similar tang and acidity as buttermilk.
Q5: The cake layers are too hard after chilling. What did I do wrong?
A: If the cake layers are too hard after chilling, it could be due to a few factors. First, ensure you haven’t overbaked the layers, as this can cause them to dry out. Second, make sure the apple filling is moist enough; if it’s too dry, it won’t soften the cake layers effectively. Finally, ensure you’ve wrapped the cake tightly in plastic wrap to prevent it from drying out in the refrigerator. If the layers are still too hard, try letting the cake sit at room temperature for a few hours before serving to allow them to soften further.