Description of this recipe: Indulge in the delightful combination of rich, dark chocolate and refreshing peppermint with these homemade Chocolate Mint Creams. This recipe transforms simple ingredients into delectable treats, perfect for satisfying your sweet tooth or sharing with loved ones during the holidays or any special occasion. These creams are easier to make than you might think, offering a homemade touch to a classic candy.
Why you will love this recipe: These Chocolate Mint Creams are incredibly satisfying because they deliver a perfect balance of flavors and textures. The smooth, decadent chocolate coating gives way to a cool, creamy peppermint center, creating a truly irresistible experience. Plus, this recipe allows you to customize the intensity of the peppermint flavor and the shade of green, ensuring a treat that perfectly suits your preferences. They make wonderful gifts, elegant additions to dessert platters, or a delightful personal treat. Moreover, making them at home allows you to control the ingredients, ensuring no unwanted additives or preservatives. Introduction:
There’s something undeniably comforting and luxurious about the combination of chocolate and mint. It’s a pairing that evokes feelings of warmth and freshness simultaneously, making it a timeless favorite. While store-bought mint creams are readily available, nothing quite compares to the satisfaction of creating your own homemade version. This recipe provides a simple yet effective way to create delicious Chocolate Mint Creams that are far superior in taste and quality to anything you’ll find on the shelves.
This recipe is designed to be approachable for bakers of all skill levels. The steps are straightforward, and the ingredients are easily accessible. The key to success lies in paying attention to detail, particularly when melting the chocolate and forming the cream centers. With a little patience and practice, you’ll be whipping up batches of these delectable treats in no time. Whether you’re looking for a fun baking project, a unique homemade gift, or simply a way to satisfy your sweet cravings, these Chocolate Mint Creams are sure to impress. Let’s embark on this culinary adventure and discover the joy of crafting your own artisanal candies!
Ingredients:
- 2 cups semisweet chocolate chips (choose a high-quality brand for the best flavor)
- 2 tablespoons shortening (vegetable shortening helps create a smoother, shinier chocolate coating)
- 2 teaspoons peppermint extract (adjust to taste; start with 1 teaspoon if you prefer a milder mint flavor)
- 2 cups confectioners’ sugar (also known as powdered sugar; essential for the smooth texture of the cream centers)
- 2 tablespoons water (use filtered water for the purest flavor)
- Green food coloring (optional; gel food coloring provides the most vibrant color with minimal liquid)
Preparation:
Step 1: Melt the Chocolate
- In a microwave-safe bowl, combine the chocolate chips and shortening.
- Microwave in 30-second intervals, stirring after each interval. This prevents the chocolate from burning.
- Continue microwaving and stirring until the chocolate is completely melted and smooth. The mixture should be glossy and free of lumps.
- If you prefer to melt the chocolate using a double boiler, fill a saucepan with a small amount of water and bring it to a simmer. Place a heat-safe bowl on top of the saucepan, ensuring the bottom of the bowl doesn’t touch the water. Add the chocolate chips and shortening to the bowl and stir gently until melted and smooth. This method provides more control over the melting process and minimizes the risk of burning the chocolate.
Step 2: Add Peppermint
- Once the chocolate is melted and smooth, carefully stir in the peppermint extract.
- Start with 2 teaspoons and adjust to your personal preference. Remember, a little peppermint extract goes a long way, so taste the chocolate after adding the extract and add more if desired.
- Mix thoroughly to ensure the peppermint extract is evenly distributed throughout the chocolate.
Step 3: Form Cream Centers
- In a separate bowl, combine the confectioners’ sugar and water.
- Add a few drops of green food coloring (if using). Start with a small amount and gradually add more until you achieve the desired shade of green.
- Mix the ingredients together until a smooth, slightly stiff dough forms. If the mixture is too dry, add a tiny amount of water, a drop at a time, until it reaches the correct consistency. If the mixture is too wet, add a small amount of confectioners’ sugar until it firms up.
Step 4: Shape Creams
- Take a small amount of the peppermint cream mixture (about 1 teaspoon) and roll it into a ball using your hands.
- Gently flatten the ball into a disc shape, approximately 1/2 inch in thickness.
- Place the shaped creams on a sheet of waxed paper or parchment paper.
- Repeat the process until all of the peppermint cream mixture has been used.
- Refrigerate the shaped creams for at least 30 minutes to allow them to firm up before dipping. This will make them easier to handle and prevent them from melting in the chocolate.
Step 5: Coat with Chocolate
- Remove the peppermint creams from the refrigerator.
- Using a fork or dipping tools, carefully dip each cream into the melted chocolate, ensuring it is completely coated.
- Lift the coated cream out of the chocolate and gently tap the fork against the side of the bowl to allow any excess chocolate to drip off.
- Place the chocolate-coated creams back on the waxed paper or parchment paper.
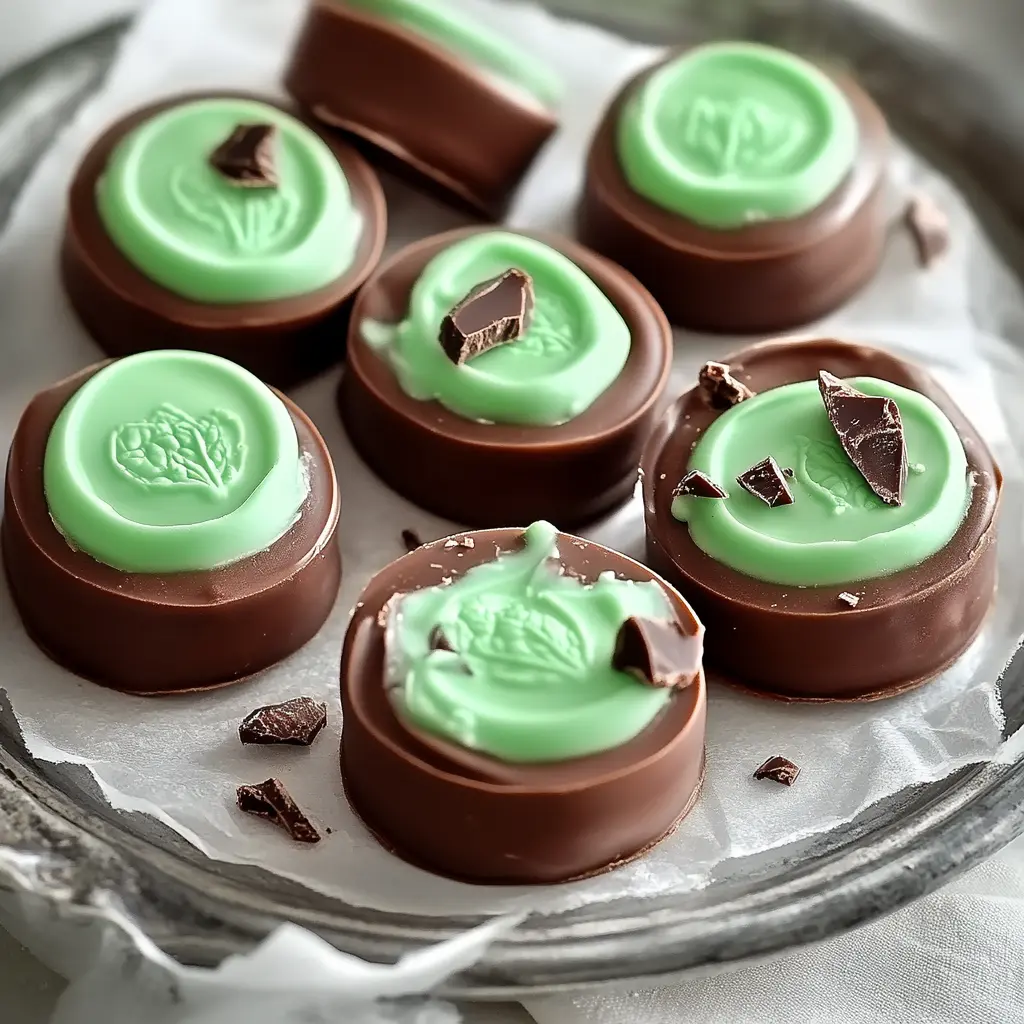
- If desired, sprinkle the tops of the creams with crushed peppermint candies or coarse sea salt while the chocolate is still wet. This will add extra flavor and visual appeal.
Step 6: Chill and Serve
- Refrigerate the coated creams for at least 1 hour, or until the chocolate is completely firm and set.
- Once the chocolate is firm, carefully peel the creams off the waxed paper.
- Store the Chocolate Mint Creams in an airtight container in the refrigerator to maintain their freshness and prevent the chocolate from melting.
COOKING Rating:
Easy
Serving Suggestions:
- Enjoy them as a delightful after-dinner treat.
- Include them on a dessert platter alongside other homemade candies and cookies.
- Package them in decorative boxes or bags as thoughtful homemade gifts.
- Serve them with a cup of hot cocoa or coffee for a cozy and comforting experience.
- Crumble them over ice cream or yogurt for a decadent topping.
Tips:
- Use high-quality chocolate chips for the best flavor and texture.
- Do not overheat the chocolate, as it can become grainy. Microwave in short intervals and stir frequently.
- If the chocolate becomes too thick during dipping, add a small amount of shortening to thin it out.
- Make sure the peppermint creams are thoroughly chilled before dipping to prevent them from melting in the chocolate.
- For a smoother chocolate coating, temper the chocolate before dipping. Tempering involves heating and cooling the chocolate to specific temperatures to stabilize the cocoa butter, resulting in a glossy, snap-able finish.
- Experiment with different extracts, such as vanilla or almond, to create unique flavor variations.
- Add a pinch of salt to the cream centers to enhance the flavors.
- Store the Chocolate Mint Creams in a cool, dry place to prevent the chocolate from blooming (developing a white coating).
Prep Time: 20 minutes
Cook Time: 10 minutes
Total Time: 30 minutes (plus chilling time)
Nutritional Information: (Approximate, per serving)
Calories: 120
Protein: 1 gram
Sodium: 5mg
Conclusion:
These homemade Chocolate Mint Creams are a delightful treat that offers a perfect balance of rich chocolate and refreshing peppermint. This recipe is easy to follow and allows for customization to suit your preferences. Whether you’re making them for yourself, for a special occasion, or as a thoughtful gift, these creams are sure to be a hit. The satisfaction of creating your own artisanal candies is unparalleled, and the result is a treat that is far superior to store-bought versions. So, gather your ingredients, put on your apron, and enjoy the process of making these delectable Chocolate Mint Creams!
5 Questions and Answers About This Recipe:
Q1: Can I use white chocolate instead of semi-sweet chocolate?
A: Absolutely! White chocolate will create a completely different flavor profile but can be equally delicious. Keep in mind that white chocolate tends to melt more easily than semi-sweet chocolate, so you might need to work a bit faster during the dipping process. You can also add a tiny bit of vegetable oil to the white chocolate as it melts to help thin it and keep it smooth. Experiment with different types of chocolate to find your personal favorite! Milk chocolate is also an option if you want something in between dark and white.
Q2: How do I prevent the chocolate from seizing up when I add the peppermint extract?
A: Chocolate can seize up if even a small amount of water gets into it, as peppermint extract often contains some water. To minimize the risk, make sure your bowl and utensils are completely dry before melting the chocolate. Adding a bit of melted shortening (about 1/2 teaspoon) while mixing in the peppermint extract can also help emulsify the mixture and prevent seizing. If the chocolate does seize, you can sometimes rescue it by adding a teaspoon of hot water and stirring vigorously. However, this may not always work, and it’s best to take precautions to prevent seizing in the first place.
Q3: Can I freeze these Chocolate Mint Creams?
A: Yes, you can freeze them for up to 2-3 months. Place the finished creams in a single layer on a baking sheet lined with parchment paper, and freeze until solid. Once frozen, transfer them to an airtight container or freezer bag. This will prevent them from sticking together and protect them from freezer burn. When ready to serve, thaw them in the refrigerator for a few hours or overnight. Note that the texture of the cream centers may change slightly after freezing, becoming a bit softer.
Q4: What can I do if my cream centers are too sticky to handle?
A: If your cream centers are too sticky, it means there is too much moisture in the mixture. To fix this, gradually add more confectioners’ sugar, a tablespoon at a time, until the dough reaches the correct consistency. Mix well after each addition and test the consistency by rolling a small amount into a ball. The dough should be firm enough to hold its shape without sticking to your hands. Refrigerating the mixture for a longer period can also help firm it up.
Q5: How can I make these Chocolate Mint Creams vegan?
A: To make this recipe vegan, use vegan chocolate chips, vegan shortening, and ensure your confectioners’ sugar is vegan-friendly (some brands process it using bone char). Substitute the water in the cream center mixture with a plant-based milk like almond or soy milk, adjusting the amount as needed to achieve the desired consistency. Be mindful of the peppermint extract and green food coloring you choose. Ensure both are vegan-friendly!