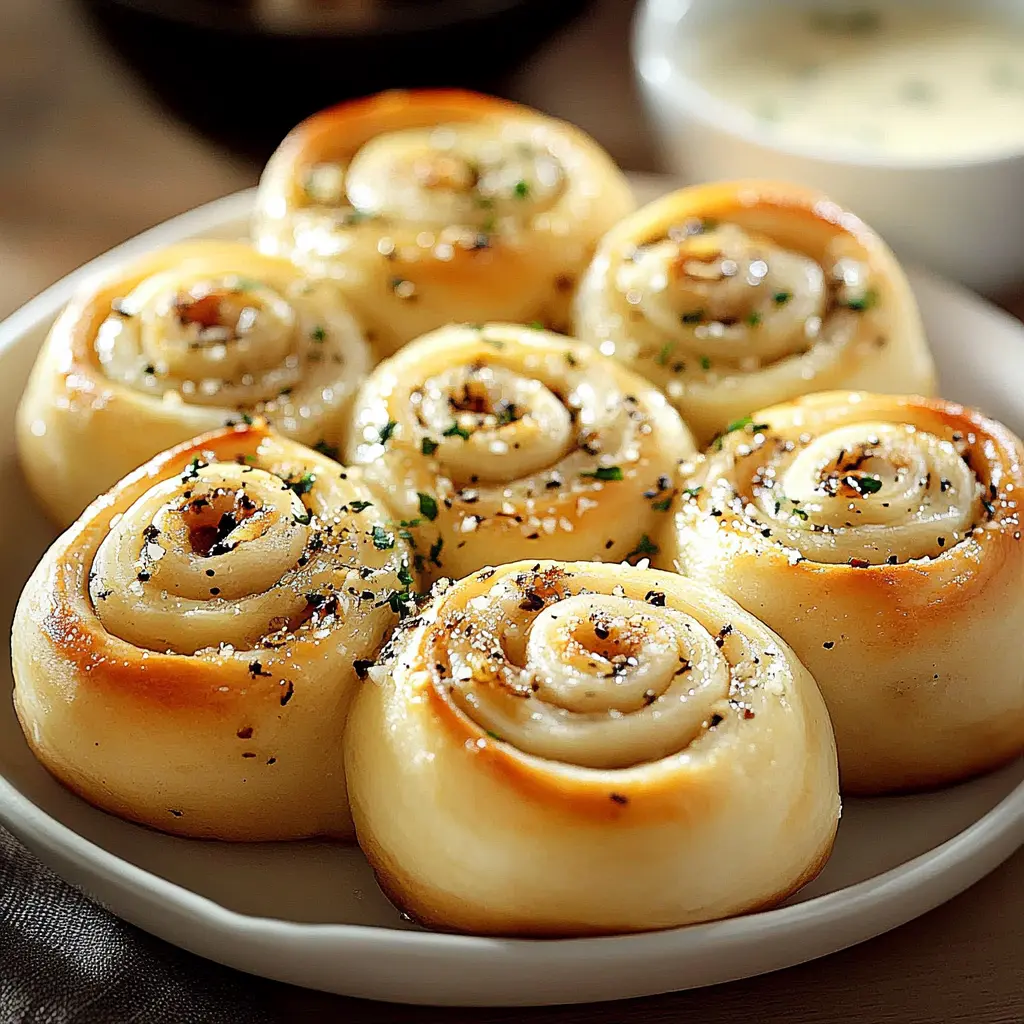
These Garlic Swirl Rolls are soft, buttery, and bursting with garlicky goodness. Perfect as a side dish for any meal, these rolls are sure to be a crowd-pleaser.
Why you will love this recipe
You will love this recipe because it is simple to follow, yields incredibly delicious results, and fills your kitchen with an irresistible aroma. The combination of soft, fluffy dough and savory garlic butter makes these rolls an instant hit. Whether you’re serving them at a family dinner or bringing them to a potluck, these rolls are guaranteed to disappear quickly.
Introduction
Garlic Swirl Rolls are a delightful twist on traditional dinner rolls, offering a rich, savory flavor that elevates any meal. The process of creating these rolls is as enjoyable as the eating experience itself, transforming simple ingredients into something truly special. Imagine sinking your teeth into a warm, fluffy roll, the garlicky butter oozing out with each bite – that’s the magic of these homemade Garlic Swirl Rolls.
Making bread at home can be a therapeutic and rewarding experience. From the initial mixing of the dough to the final golden-brown bake, each step is a testament to the simple pleasure of creating something from scratch. These Garlic Swirl Rolls are no exception, offering a comforting and satisfying baking project for both novice and experienced bakers.
Ingredients:
For the Dough:
- 4 cups all-purpose flour
- 2 ¼ teaspoons active dry yeast (1 packet)
- 1 cup warm milk (about 110°F)
- ¼ cup granulated sugar
- ½ cup unsalted butter, melted
- 2 large eggs
- 1 teaspoon salt
For the Filling:
- ½ cup unsalted butter, softened
- 6 cloves garlic, minced
- 2 tablespoons fresh parsley, chopped (or 1 tablespoon dried)
- ½ teaspoon salt
- ¼ teaspoon black pepper
For the Topping:
- 2 tablespoons grated Parmesan cheese (optional)
- Extra parsley for garnish
Preparation:
Step 1: Activate the Yeast
In a large mixing bowl, combine the warm milk and sugar. The warmth of the milk is crucial for activating the yeast, while the sugar provides the yeast with the necessary food to kickstart the fermentation process. Sprinkle the active dry yeast on top of the mixture. Let it sit undisturbed for 5–10 minutes. During this time, the yeast should begin to froth, indicating that it is active and ready to use. If the yeast does not froth, it may be old or inactive, and you’ll need to start with a fresh packet.
Step 2: Mix Dough Ingredients
Once the yeast is frothy, add the melted butter, eggs, and salt to the yeast mixture. Whisk these ingredients together until they are thoroughly combined. The melted butter adds richness and tenderness to the dough, while the eggs contribute to the dough’s structure and moisture. The salt helps to control the yeast activity and enhances the overall flavor of the rolls. Gradually add the flour one cup at a time, mixing until a soft dough forms. Be careful not to add too much flour at once, as this can result in a dry, dense dough.
Step 3: Knead the Dough
Turn the dough out onto a lightly floured surface. Knead the dough for 5–7 minutes until it becomes smooth and elastic. Kneading develops the gluten in the flour, which gives the rolls their chewy texture. If the dough is too sticky, add a little more flour, a tablespoon at a time, until it becomes manageable. The dough should be smooth and supple, not sticky or stiff. Place the kneaded dough in a greased bowl, turning it to coat all sides. This prevents the dough from drying out as it rises. Cover the bowl with a clean kitchen towel or plastic wrap and let it rise in a warm spot for 1 to 1.5 hours, or until doubled in size.
Step 4: Prepare the Filling
While the dough is rising, prepare the garlic butter filling. In a small bowl, combine the softened butter, minced garlic, parsley, salt, and pepper. Mix these ingredients together until they are well combined, creating a flavorful and aromatic spread. The softened butter ensures that the filling is easy to spread, while the minced garlic infuses the butter with its distinctive flavor. Fresh parsley adds a touch of freshness, but dried parsley can be used as a substitute. The salt and pepper enhance the overall flavor of the filling, creating a perfect balance of savory goodness.
Step 5: Shape the Rolls
Once the dough has doubled in size, punch it down to release the air. Turn the dough out onto a lightly floured surface and roll it out into a 12×18 inch rectangle. The rectangle should be of even thickness to ensure that the rolls bake uniformly. Spread the garlic butter evenly across the surface of the dough, making sure to cover every inch. Roll the dough tightly from the long side, creating a log. Use a sharp knife or dough scraper to cut the log into 12 even pieces.
Step 6: Second Rise
Arrange the rolls cut-side up in a greased baking dish or on a lined baking sheet. This allows the rolls to rise properly and develop a beautiful shape. Cover the rolls with a clean kitchen towel or plastic wrap and let them rise again for 30–45 minutes. This second rise is essential for creating light and fluffy rolls.
Step 7: Bake
Preheat the oven to 350°F (175°C). This temperature ensures that the rolls bake evenly and develop a golden-brown crust. Sprinkle the rolls with grated Parmesan cheese, if using, for an extra layer of flavor. Bake for 20–25 minutes, or until the rolls are golden brown and cooked through. Keep a close eye on the rolls during baking to prevent them from burning.
Step 8: Cool and Serve
Once the rolls are baked, remove them from the oven and let them cool slightly in the baking dish or on the baking sheet. Garnish with extra parsley for a pop of color and freshness. Serve the Garlic Swirl Rolls warm, and enjoy the irresistible combination of soft, fluffy dough and savory garlic butter.
COOKING Rating:
- 5/5
Serving Suggestions:
These Garlic Swirl Rolls are incredibly versatile and can be served with a variety of meals. They are a perfect accompaniment to pasta dishes, soups, stews, and salads. You can also serve them as a side dish with roasted chicken, grilled steak, or baked fish. For a casual gathering, arrange the rolls on a platter alongside a selection of cheeses, cured meats, and olives for a delicious and satisfying appetizer.
Tips:
- Make sure your milk is warm (about 110°F) to activate the yeast properly.
- Don’t over-knead the dough, or it will become tough.
- If you don’t have fresh parsley, dried parsley works just as well.
- For extra flavor, add a pinch of red pepper flakes to the garlic butter filling.
- Store leftover rolls in an airtight container at room temperature for up to 2 days.
Prep Time:
20 minutes
Cook Time:
25 minutes
Total Time:
45 minutes
Nutritional Information:
Calories:
180 kcal
Protein:
4g
Sodium:
250mg
Conclusion
These Garlic Swirl Rolls are more than just a side dish; they are a culinary experience that brings joy to every meal. With their soft, fluffy texture and irresistible garlicky flavor, they are sure to become a family favorite. Whether you’re a seasoned baker or just starting out, this recipe is easy to follow and yields consistently delicious results. So, gather your ingredients, preheat your oven, and get ready to create a batch of these heavenly Garlic Swirl Rolls.
Questions and Answers About This Recipe
Q1: Can I use a stand mixer to make the dough?
A: Absolutely! Using a stand mixer can make the dough-making process even easier. Use the dough hook attachment and mix the ingredients on low speed until a soft dough forms. Then, increase the speed to medium and knead for about 5-7 minutes, or until the dough is smooth and elastic.
Q2: What if I don’t have active dry yeast? Can I use instant yeast instead?
A: Yes, you can use instant yeast as a substitute. The main difference is that instant yeast doesn’t need to be activated in warm milk first. You can add it directly to the flour along with the other dry ingredients. Follow the rest of the recipe as directed.
Q3: Can I make these rolls ahead of time?
A: Yes, you can prepare the dough ahead of time and store it in the refrigerator. After the first rise, punch down the dough, wrap it tightly in plastic wrap, and refrigerate it for up to 24 hours. When you’re ready to bake, remove the dough from the refrigerator and let it come to room temperature for about 30 minutes before rolling it out and shaping the rolls.
Q4: What can I use instead of Parmesan cheese for the topping?
A: If you don’t have Parmesan cheese, you can use other hard cheeses like Asiago or Pecorino Romano. Alternatively, you can sprinkle the rolls with a mixture of dried herbs like oregano, basil, and thyme for a different flavor profile.
Q5: How do I keep the rolls from drying out after baking?
A: To keep the rolls from drying out, brush them with melted butter immediately after they come out of the oven. This will add moisture and flavor, and help to keep the crust soft. Additionally, store any leftover rolls in an airtight container at room temperature to prevent them from drying out.