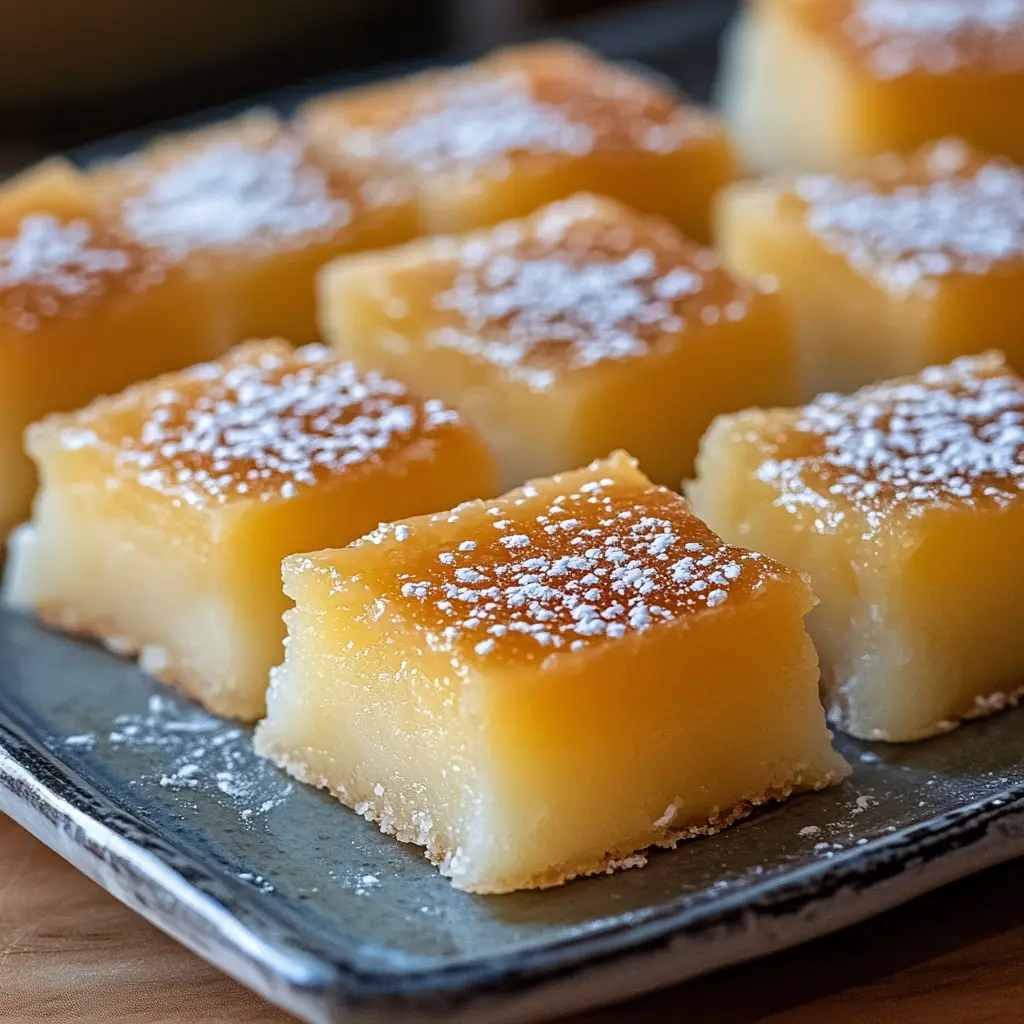
Description: This Hawaiian Butter Mochi is a chewy, sweet, and utterly irresistible treat. Made with sweet rice flour (mochiko), it offers a unique texture that’s both soft and slightly bouncy. The combination of coconut milk and vanilla extract infuses the mochi with a delightful tropical flavor that will transport you straight to the islands. It’s easy to make, requiring minimal ingredients and effort, making it perfect for a quick dessert or a potluck contribution.
Why you will love this recipe:
- Uniquely Chewy Texture: Unlike traditional cakes, butter mochi has a distinctively chewy and satisfying texture that keeps you coming back for more.
- Tropical Flavors: The coconut milk lends a subtle coconut flavor that perfectly complements the vanilla extract, creating a delightful Hawaiian taste experience.
- Simple and Straightforward: This recipe is incredibly easy to follow, even for novice bakers. It requires no complicated techniques or hard-to-find ingredients.
- Perfect for Sharing: Butter mochi is a crowd-pleaser and is perfect for sharing with friends and family at gatherings, parties, or simply as a sweet treat to brighten someone’s day.
- Customizable: This recipe provides a fantastic base that can be easily customized with different flavors, toppings, and mix-ins to suit your preferences.
Introduction
Hawaiian Butter Mochi is a beloved dessert in Hawaii, a delightful fusion of Japanese mochi-making traditions and local flavors. Brought to the islands by Japanese immigrants, mochi has evolved into a uniquely Hawaiian treat, incorporating ingredients like coconut milk and butter. This recipe captures the essence of traditional butter mochi, offering a simple yet satisfying way to experience this island favorite. The beauty of this recipe lies in its simplicity and the minimal effort required to create a truly memorable dessert. It’s a forgiving recipe, perfect for both seasoned bakers and those just starting their baking journey. The reward is a chewy, flavorful, and undeniably addictive treat that will quickly become a family favorite. Prepare to be transported to the warm, sunny shores of Hawaii with every bite!
Ingredients:
- 1 cup sweet rice flour (mochiko)
- 1 cup sugar
- 1 1/2 teaspoons baking powder
- 1/4 teaspoon salt
- 1/2 cup unsalted butter, melted
- 1 cup coconut milk
- 2 large eggs
- 1 teaspoon vanilla extract
- 1/2 cup whole milk
Preparation:
Step 1: Preheat the oven to 350°F (175°C). This step is crucial for ensuring the mochi bakes evenly and achieves the perfect texture. While the oven is preheating, prepare your baking pan. Grease a 9×9-inch baking pan thoroughly with butter or cooking spray. Alternatively, line the pan with parchment paper, leaving some overhang on the sides for easy removal after baking. This will prevent the mochi from sticking to the pan and make clean-up a breeze.
Step 2: In a medium-sized bowl, whisk together the sweet rice flour (mochiko), sugar, baking powder, and salt. This is an important step for ensuring that the dry ingredients are evenly distributed throughout the batter. The sweet rice flour, also known as mochiko, is the key ingredient that gives the mochi its signature chewy texture. Whisking helps to break up any lumps in the flour and ensures that the baking powder and salt are uniformly mixed into the batter, leading to a consistent rise and flavor.
Step 3: In a separate bowl, beat the eggs until they are lightly scrambled and slightly frothy. This will help to incorporate air into the batter, resulting in a lighter and more tender mochi. Then, stir in the melted butter, coconut milk, vanilla extract, and whole milk. Make sure the butter is cooled slightly before adding it to the eggs to prevent them from cooking. The combination of coconut milk and vanilla extract is what gives the butter mochi its distinctive tropical flavor. The whole milk adds richness and helps to create a smooth and creamy batter.
Step 4: Gradually combine the wet ingredients with the dry ingredients, mixing until just smooth. It is important to add the wet ingredients to the dry ingredients gradually to prevent lumps from forming. Mix until the batter is smooth and well combined, but be careful not to overmix. Overmixing can develop the gluten in the sweet rice flour, resulting in a tough mochi. A few small lumps are okay, but ensure there are no large pockets of dry flour.
Step 5: Pour the batter into the prepared baking pan and smooth the top with a spatula. This will ensure that the mochi bakes evenly and has a nice, even surface. Gently tap the baking pan on the counter a few times to release any air bubbles that may be trapped in the batter. This will result in a smoother and more uniform texture.
Step 6: Bake for 50-55 minutes, or until the top is golden brown and a toothpick inserted into the center comes out clean. The baking time may vary depending on your oven, so it is important to keep an eye on the mochi. If the top starts to brown too quickly, you can tent it with aluminum foil to prevent it from burning. The mochi is done when the top is golden brown and a toothpick inserted into the center comes out clean or with a few moist crumbs attached.
Step 7: Allow the mochi to cool completely in the pan before slicing it into squares. This is an important step for ensuring that the mochi sets properly and is easy to cut. Cooling the mochi allows it to firm up and develop its signature chewy texture. If you try to cut it while it is still warm, it may be too sticky and difficult to handle.
COOKING Rating:
Easy
Serving Suggestions:
- Serve warm or at room temperature.
- Dust with powdered sugar for an extra touch of sweetness.
- Top with shredded coconut, macadamia nuts, or fresh fruit.
- Enjoy with a scoop of vanilla ice cream or a dollop of whipped cream.
- Serve alongside a cup of hot coffee or tea.
Tips:
- Use good quality sweet rice flour (mochiko) for the best results.
- Make sure the butter is melted and cooled slightly before adding it to the batter.
- Do not overmix the batter, as this can result in a tough mochi.
- Adjust the baking time as needed depending on your oven.
- For a richer flavor, use full-fat coconut milk.
- To prevent sticking, grease the baking pan thoroughly or line it with parchment paper.
- Store leftover mochi in an airtight container at room temperature for up to 3 days.
- For added flavor, try adding a pinch of cinnamon or nutmeg to the batter.
- Experiment with different extracts, such as almond or coconut extract.
Prep Time:
15 minutes
Cook Time:
50-55 minutes
Total Time:
1 hour 5-10 minutes
Nutritional Information (per serving, approximate):
(Note: Nutritional information can vary greatly depending on ingredient brands and serving size. This is an estimate only.)
Calories:
Approximately 250-300
Protein:
Approximately 3-4 grams
Sodium:
Approximately 100-150 mg
Conclusion
Hawaiian Butter Mochi is more than just a dessert; it’s a taste of paradise. With its unique texture, delightful tropical flavors, and easy preparation, it’s the perfect treat for any occasion. Whether you’re looking for a quick dessert to satisfy your sweet tooth or a crowd-pleasing dish to share with friends and family, this recipe is sure to impress. So, grab your ingredients, preheat your oven, and get ready to experience the magic of Hawaiian Butter Mochi. You won’t be disappointed! Aloha!
Questions and Answers:
Q1: Can I use a different type of flour instead of sweet rice flour (mochiko)?
A: While you can technically experiment with other flours, sweet rice flour (mochiko) is absolutely essential for achieving the authentic chewy texture of Hawaiian Butter Mochi. Other flours, such as all-purpose flour or rice flour, will not yield the same results. Mochiko is specifically designed to create that signature springy and slightly sticky consistency that defines butter mochi. If you substitute it, you’ll end up with a cake-like or crumbly texture instead of the desired chewiness. You can find mochiko at most Asian grocery stores or online retailers. It’s worth the effort to source it for the best possible outcome!
Q2: Can I reduce the amount of sugar in this recipe?
A: Yes, you can certainly reduce the amount of sugar slightly, but be aware that it will affect the overall sweetness and texture of the mochi. Sugar not only contributes to the sweetness but also helps to create a tender and moist crumb. If you reduce the sugar by more than 1/4 cup, the mochi may become slightly drier and less chewy. If you are concerned about the sugar content, you could try using a natural sweetener like honey or maple syrup, but keep in mind that this will alter the flavor profile of the mochi. Start by reducing the sugar by a small amount and adjust to your taste preferences.
Q3: Can I make this recipe dairy-free or vegan?
A: Yes, you can adapt this recipe to be both dairy-free and vegan with a few simple substitutions. To make it dairy-free, simply replace the unsalted butter with a vegan butter substitute and the whole milk with another cup of coconut milk, or another plant-based milk like almond or soy. For a vegan version, you’ll also need to replace the eggs. You can use an egg replacer like flax eggs (1 tablespoon of ground flaxseed mixed with 3 tablespoons of water per egg) or a commercial egg replacer. Keep in mind that the texture and flavor may be slightly different from the original recipe, but it will still be a delicious and satisfying treat.
Q4: How do I store leftover Hawaiian Butter Mochi?
A: Leftover Hawaiian Butter Mochi can be stored in an airtight container at room temperature for up to 3 days. To prevent it from drying out, you can also wrap each piece individually in plastic wrap. You can also store it in the refrigerator for up to a week, but it may become slightly firmer. To soften it, you can microwave it for a few seconds before serving. Freezing is not recommended, as it can significantly alter the texture of the mochi.
Q5: Can I add any other flavors or mix-ins to this recipe?
A: Absolutely! One of the great things about Hawaiian Butter Mochi is that it’s a versatile base that can be easily customized with different flavors and mix-ins. Some popular additions include shredded coconut, chopped macadamia nuts, chocolate chips, fruit purees (like mango or pineapple), or even a swirl of Nutella. You can also experiment with different extracts, such as almond extract or coconut extract. Just be sure not to add too many mix-ins, as this can affect the overall texture of the mochi. A good rule of thumb is to limit the total amount of mix-ins to about 1/2 cup. Get creative and have fun experimenting with different flavor combinations to create your own unique version of Hawaiian Butter Mochi!