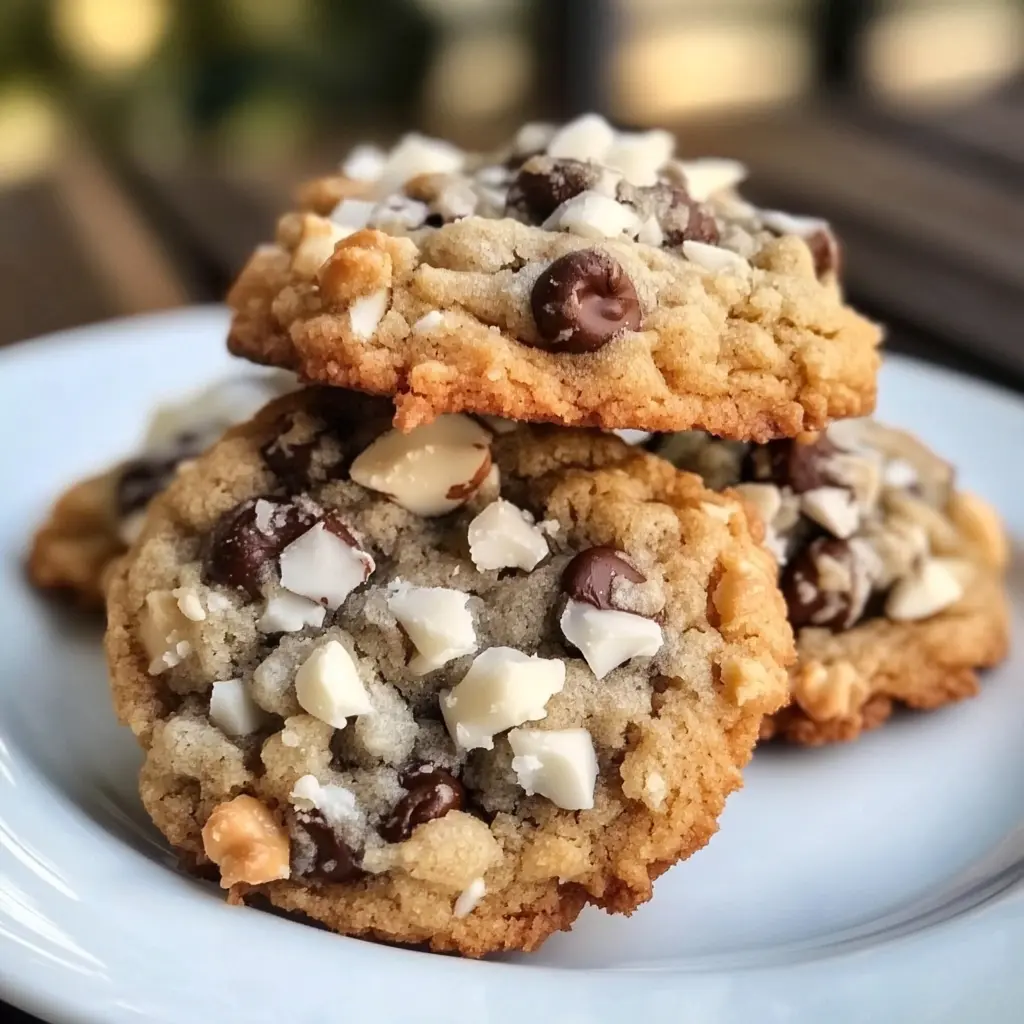
Description of this recipe: These Small Batch Almond Joy Cookies capture all the beloved flavors of the classic candy bar in a chewy, delicious cookie form. Featuring a perfect balance of sweet coconut, rich chocolate, and crunchy almonds, these cookies are a delightful treat that’s easy to make in a small quantity, perfect for satisfying a craving or enjoying a cozy afternoon.
Why you will love this recipe: This recipe is fantastic because it’s simple, quick, and incredibly satisfying. You don’t need to make a huge batch, which is ideal for when you want a few treats without having a mountain of cookies tempting you. The combination of the tender, buttery cookie base with the chewy coconut, melty chocolate, and crunchy almonds creates a textural and flavor explosion in every bite. Plus, who doesn’t love the nostalgic taste of Almond Joy?
Introduction
As a passionate baker and lover of all things sweet, I’m always on the lookout for recipes that are both delicious and manageable. I believe that everyone should have access to treats that bring joy without requiring hours in the kitchen or enough servings to feed a small army. This Small Batch Almond Joy Cookies recipe is a perfect example of that philosophy.
I’ve always been a fan of the Almond Joy candy bar – the coconut, chocolate, and almond trifecta is simply irresistible. But sometimes, a candy bar just doesn’t quite cut it. I wanted something a little more substantial, something you could really sink your teeth into. That’s where the idea for these cookies was born.
This recipe is designed for those moments when you crave a sweet treat but don’t want to be left with dozens of cookies. It’s perfect for a small family, a single person, or anyone who simply enjoys freshly baked goods without the commitment of a larger batch. The cookies are easy to make, require minimal ingredients, and deliver maximum flavor. Each bite is a little piece of heaven, bringing together the comforting flavors of coconut, chocolate, and almonds in a perfectly balanced treat.
Whether you’re a seasoned baker or just starting out, this recipe is a winner. It’s straightforward, forgiving, and yields incredibly delicious results every time. So, grab your ingredients, preheat your oven, and get ready to experience the joy of homemade Almond Joy Cookies!
Ingredients:
- 1/4 cup (2 ounces or 57 grams) unsalted butter, softened to room temperature
- 1/4 cup (50 grams) granulated sugar
- 1/4 cup (approximately 48 grams) packed light brown sugar
- 1/2 teaspoon pure vanilla extract
- 1 large egg yolk (save the egg white for another use!)
- 1/2 cup (60 grams) all-purpose flour
- 1/4 teaspoon baking soda
- 1/8 teaspoon salt
- 1/3 cup (approximately 27 grams) shredded sweetened coconut
- 1/4 cup (approximately 42 grams) semi-sweet chocolate chips
- 1/4 cup (approximately 28 grams) chopped almonds, toasted for enhanced flavor
Preparation:
Step 1: Preheat your oven to 350°F (175°C). Position a baking rack in the center of the oven to ensure even baking. Line a baking sheet with parchment paper or a silicone baking mat. This prevents the cookies from sticking and makes cleanup a breeze. Parchment paper also helps the cookies bake evenly by distributing heat gently.
Step 2: In a medium-sized mixing bowl, cream together the softened butter, granulated sugar, and packed brown sugar. Use an electric mixer (handheld or stand mixer) for best results. Cream the ingredients together on medium speed for about 2-3 minutes, or until the mixture is light and fluffy. Properly creaming the butter and sugar incorporates air into the mixture, which contributes to the cookies’ light and tender texture. Make sure the butter is truly softened – not melted – for optimal creaming.
Step 3: Add the vanilla extract and egg yolk to the creamed butter and sugar mixture. Mix on medium speed until everything is fully combined and the mixture is smooth. The egg yolk adds richness and contributes to the cookies’ chewy texture. Ensure the yolk is thoroughly incorporated to prevent any pockets of unincorporated egg.
Step 4: In a separate, small bowl, whisk together the all-purpose flour, baking soda, and salt. Whisking these dry ingredients together ensures that they are evenly distributed throughout the dough. Baking soda acts as a leavening agent, helping the cookies rise, while salt enhances the flavors of the other ingredients.
Step 5: Gradually add the dry ingredients to the wet ingredients, mixing on low speed until just incorporated. Be careful not to overmix the dough, as this can develop the gluten in the flour and result in tough cookies. Mix only until the flour disappears. A few streaks of flour are okay; they will be incorporated in the next step.
Step 6: Gently fold in the shredded coconut, semi-sweet chocolate chips, and chopped almonds. Use a spatula or wooden spoon to gently combine these ingredients into the dough. Be careful not to overmix at this stage, as you want to maintain the tenderness of the cookie dough. The coconut, chocolate chips, and almonds are what give these cookies their signature Almond Joy flavor, so be sure to distribute them evenly throughout the dough. Toasting the almonds beforehand brings out their nutty flavor even more.
Step 7: Drop the cookie dough by rounded tablespoons onto the prepared baking sheet, leaving about 2 inches of space between each cookie. Using a tablespoon measuring spoon helps ensure that the cookies are uniform in size and bake evenly.
Step 8: Bake in the preheated oven for 9-11 minutes, or until the edges of the cookies are lightly golden brown and the centers are set. Keep a close eye on the cookies as they bake, as baking times can vary depending on your oven. The cookies will continue to set up as they cool, so it’s better to err on the side of slightly underbaking them rather than overbaking them.
Step 9: Remove the baking sheet from the oven and let the cookies cool on the baking sheet for a few minutes before transferring them to a wire rack to cool completely. This allows the cookies to firm up slightly, making them easier to transfer without breaking.
COOKING Rating:
Easy
Serving Suggestions:
- Serve these cookies warm with a glass of cold milk or a cup of hot coffee.
- Enjoy them as an afternoon snack or a dessert after dinner.
- Pack them in lunchboxes for a special treat.
- Pair them with a scoop of vanilla ice cream for an extra indulgent dessert.
- Bring them to a potluck or bake sale – they’re always a crowd-pleaser!
Tips:
- For a richer flavor, use dark chocolate chips instead of semi-sweet.
- Toast the almonds before chopping them to enhance their nutty flavor.
- If you prefer a less sweet cookie, reduce the amount of granulated sugar slightly.
- Store the cookies in an airtight container at room temperature for up to 3 days.
- For longer storage, freeze the cookies in a freezer-safe bag or container for up to 2 months.
- Don’t have time to chop almonds? Use sliced almonds!
- Add a sprinkle of sea salt on top of the baked cookies for a perfect sweet-salty combination.
Prep Time:
15 minutes
Cook Time:
9-11 minutes
Total Time:
24-26 minutes
Nutritional Information: (Approximate, per cookie)
Calories: 150 kcal Protein: 2g Sodium: 50mg
Conclusion
These Small Batch Almond Joy Cookies are a delightful treat that captures the essence of the classic candy bar in a chewy, delicious cookie. With their perfect balance of sweet coconut, rich chocolate, and crunchy almonds, these cookies are sure to satisfy your sweet cravings. They are easy to make, require minimal ingredients, and deliver maximum flavor, making them the perfect choice for a quick and satisfying homemade treat. Whether you’re baking for yourself, your family, or a small gathering, these cookies are guaranteed to be a hit. So, go ahead and bake up a batch of these irresistible Almond Joy Cookies – you won’t be disappointed!
Questions and Answers:
Q1: Can I use unsweetened coconut instead of sweetened coconut?
A: Yes, you can definitely use unsweetened coconut in this recipe. However, keep in mind that it will reduce the overall sweetness of the cookies. If you prefer a sweeter cookie, you might want to add an extra tablespoon of granulated sugar to compensate for the lack of sweetness in the coconut. Also, sweetened coconut tends to add a bit of moisture to the cookies, so using unsweetened coconut might result in a slightly drier cookie. If you find the dough too dry, add a teaspoon of milk or cream.
Q2: Can I substitute the all-purpose flour with another type of flour?
A: While all-purpose flour is recommended for its consistent results, you can experiment with other types of flour. For instance, you could use a 1:1 gluten-free all-purpose flour blend if you need a gluten-free option. Almond flour could also be used, but it will alter the texture of the cookies, making them more crumbly. If using almond flour, you may need to adjust the amount of liquid in the recipe. Whole wheat flour can also be used, but it will result in a denser and chewier cookie. Start by substituting about half of the all-purpose flour with whole wheat flour and see how you like the results.
Q3: How can I prevent the chocolate chips from melting too much while baking?
A: To prevent chocolate chips from melting excessively during baking, there are a few tricks you can try. First, use high-quality chocolate chips, as they tend to hold their shape better. Another tip is to chill the cookie dough in the refrigerator for about 30 minutes before baking. This will help the dough firm up, which slows down the melting process of the chocolate chips. You can also place the chocolate chips in the freezer for about 15 minutes before adding them to the dough. Finally, make sure your oven temperature is accurate and avoid overbaking the cookies.
Q4: Can I make the dough ahead of time and bake the cookies later?
A: Absolutely! Making the dough ahead of time is a great way to save time and effort. You can prepare the dough, cover it tightly with plastic wrap, and store it in the refrigerator for up to 2 days. When you’re ready to bake the cookies, simply take the dough out of the refrigerator, let it sit at room temperature for about 15-20 minutes to soften slightly, and then proceed with dropping the dough onto the baking sheet and baking as directed. You can also freeze the cookie dough for longer storage. Scoop the dough into individual balls, place them on a baking sheet lined with parchment paper, and freeze until solid. Then, transfer the frozen dough balls to a freezer-safe bag or container and store them in the freezer for up to 2 months. When you’re ready to bake, simply bake the frozen dough balls directly from the freezer, adding a few extra minutes to the baking time.
Q5: What can I do if my cookies spread too thin while baking?
A: If your cookies are spreading too thin while baking, there are several potential causes and solutions. One common reason is that the butter was too soft or melted when you creamed it with the sugar. Make sure your butter is softened but still cool, not greasy. Another reason could be that the oven temperature is too low, causing the butter to melt before the cookies have a chance to set. Ensure your oven is properly preheated and the temperature is accurate. Also, using too much sugar or not enough flour can contribute to spreading. Double-check your measurements and make sure you’re using the correct amount of each ingredient. Chilling the dough before baking can also help prevent spreading. If all else fails, try adding a tablespoon or two of flour to the dough to help it hold its shape better.