Description of this recipe: This recipe provides a foundational sweet tart crust that is buttery, tender, and perfectly crisp. It’s an essential building block for countless desserts, from fruit tarts and chocolate ganache tarts to savory quiches and mini pies. This crust boasts a delicate sweetness that complements a wide range of fillings, making it a versatile staple for any baker’s repertoire.
Why you will love this recipe: You’ll adore this sweet tart crust recipe because it’s reliable, delivers consistent results, and offers a delightful, melt-in-your-mouth texture. It’s also surprisingly simple to make, requiring minimal ingredients and equipment. The subtle sweetness enhances rather than overpowers the flavor of your chosen filling, allowing you to create truly harmonious and delicious desserts. Once you master this recipe, you’ll have the confidence to create impressive and delectable tarts for any occasion.
Introduction
The sweet tart crust, or pâte sucrée as it’s known in French, is a cornerstone of pastry making. While it might seem intimidating at first, mastering a good tart crust recipe opens up a world of dessert possibilities. Unlike pie crust, which often contains vinegar or shortening for flakiness, a sweet tart crust relies on butter and sugar to create a tender, crumbly texture that practically melts in your mouth. This recipe focuses on achieving that perfect balance of butter, sugar, and flour to create a crust that is both structurally sound and incredibly delicious. The addition of powdered sugar contributes to a finer, more delicate crumb, while the egg provides richness and helps bind the dough. Whether you’re a seasoned baker or just starting out, this recipe will guide you through the process, ensuring a perfect sweet tart crust every time.
Ingredients:
- 1 ½ cups (180 g/6.3 oz) all-purpose flour: Provides the structure for the crust. Make sure to measure accurately! Spoon the flour into your measuring cup and level it off with a knife for the best results.
- ½ cup (55 g/2 oz) powdered sugar (or ¼ cup granulated sugar): Adds sweetness and contributes to a delicate, melt-in-your-mouth texture. Powdered sugar (also called confectioners’ sugar or icing sugar) is preferred as it dissolves more readily into the butter and helps prevent a grainy texture. You can substitute with granulated sugar if you prefer a slightly crisper crust, but reduce the amount to ¼ cup as granulated sugar is more intensely sweet.
- ¼ teaspoon salt: Enhances the other flavors in the crust and balances the sweetness.
- ½ cup (1 stick/115 g) cold butter, cut into small cubes: The fat source that creates tenderness and richness. It’s crucial that the butter is very cold to prevent the gluten in the flour from developing too much, resulting in a tough crust. Unsalted butter is recommended so you can control the amount of salt in the recipe.
- 1 large egg: Binds the ingredients together and adds richness and structure.
- ½ teaspoon vanilla extract (optional): Adds a subtle flavor boost. You can omit this if you prefer a more neutral-tasting crust, or substitute it with other extracts like almond or lemon for a different flavor profile.
Preparation:
Step 1: Combine the dry ingredients in a mixing bowl. In a medium-sized mixing bowl, whisk together the all-purpose flour, powdered sugar (or granulated sugar), and salt. Whisking helps to evenly distribute the ingredients, ensuring a uniform texture in the final crust. This also helps to incorporate air, making the crust slightly more tender.
Step 2: Cut in the cold butter until the mixture resembles coarse crumbs. Add the cold, cubed butter to the bowl of dry ingredients. Using a pastry blender, your fingertips, or a food processor, cut the butter into the flour mixture. The goal is to break the butter down into small pieces that are evenly distributed throughout the flour. If using a pastry blender, press down and twist until the mixture resembles coarse crumbs, with pieces of butter about the size of peas. If using your fingertips, rub the butter into the flour, lifting and separating the mixture as you go. If using a food processor, pulse the mixture a few times until it reaches the desired consistency. Be careful not to over-process, as this can warm the butter and develop the gluten in the flour, resulting in a tough crust. The mixture should look like coarse crumbs with visible pieces of butter.
Step 3: Whisk together the egg and vanilla extract, then add to the flour mixture. In a small bowl, whisk together the egg and vanilla extract (if using). This will create a liquid that will help to bind the dry ingredients together. Make sure the egg is well-incorporated with the vanilla extract for even distribution.
Step 4: Mix until the dough comes together, then refrigerate. Pour the egg mixture into the bowl with the flour and butter mixture. Using a fork or your hands, gently mix until the dough just comes together. Be careful not to overmix, as this will develop the gluten in the flour and result in a tough crust. The dough should be slightly shaggy and come together into a ball when pressed. If the dough is too dry, add a teaspoon of ice water at a time until it comes together. Once the dough has come together, flatten it into a disc, wrap it tightly in plastic wrap, and refrigerate for at least 30 minutes, or up to 2 days. Chilling the dough allows the gluten to relax and the butter to solidify, resulting in a more tender and less likely-to-shrink crust.
Step 5: Roll out the chilled dough and line a tart pan. Once the dough is chilled, lightly flour a clean work surface. Remove the dough from the refrigerator and roll it out to about 1/8 inch thickness. Be sure to roll evenly. Transfer the rolled dough to a tart pan (preferably one with a removable bottom). Gently press the dough into the pan, making sure it fits snugly into the corners and up the sides. Use a rolling pin or your fingers to trim any excess dough from the edges of the pan.
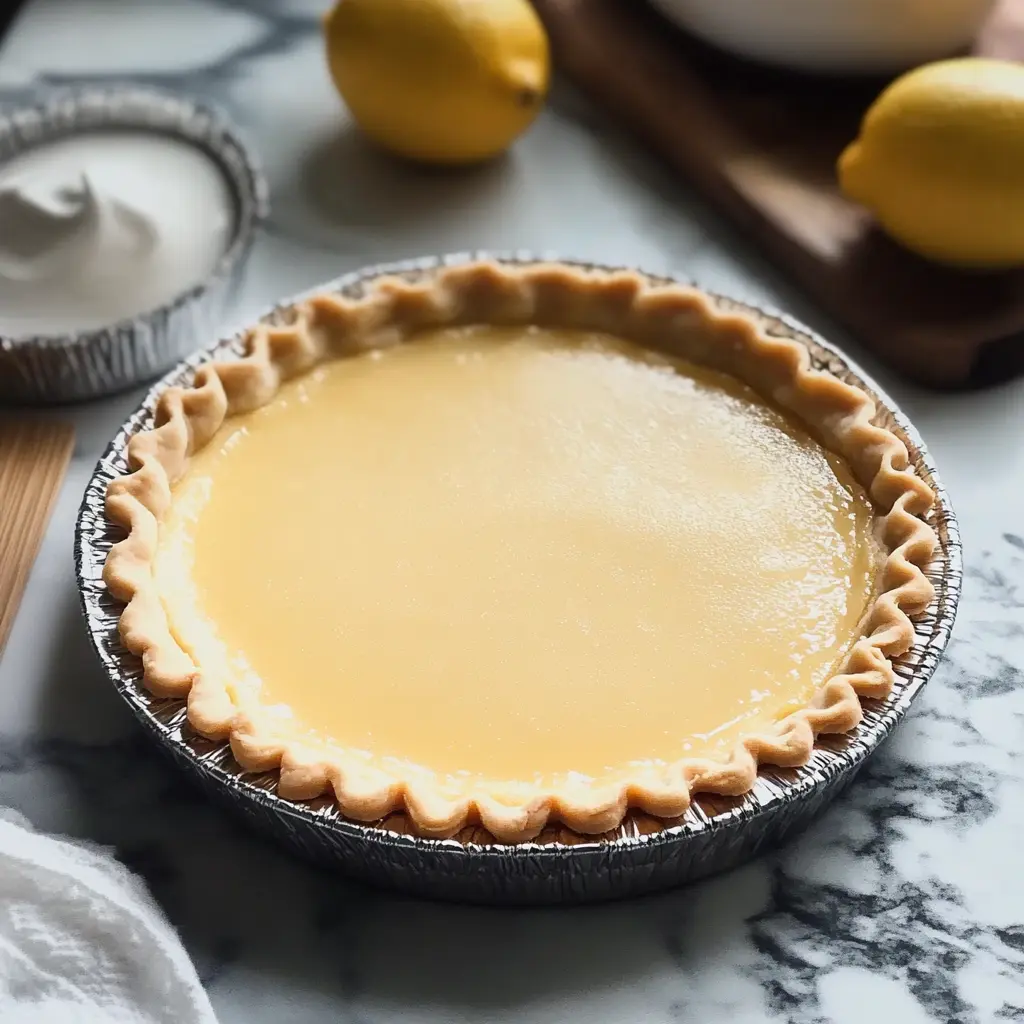
Step 6: Trim excess dough and bake until golden brown. Prick the bottom of the crust with a fork several times to prevent it from puffing up during baking. You can also line the crust with parchment paper and fill it with pie weights or dried beans to help it maintain its shape. This is called “blind baking.” Bake the crust in a preheated oven at 375°F (190°C) for 15-20 minutes, or until golden brown. If you are blind baking, remove the parchment paper and pie weights after 15 minutes and continue baking for another 5-10 minutes, or until the crust is golden brown. Let the crust cool completely before filling.
COOKING Rating:
Easy. This recipe is approachable for beginner bakers and yields consistent results.
Serving Suggestions:
- Fill with fresh fruit and pastry cream for a classic fruit tart.
- Use as the base for a decadent chocolate ganache tart.
- Create mini quiches with savory fillings.
- Make individual lemon tarts.
- Use as a base for pecan pie filling.
Tips:
- Keep everything cold: Cold butter, cold egg, and cold water are essential for a tender crust.
- Don’t overmix: Overmixing develops the gluten in the flour, resulting in a tough crust.
- Chill the dough: Chilling the dough allows the gluten to relax and the butter to solidify, resulting in a more tender crust that is less likely to shrink.
- Blind bake if necessary: If your filling is wet or requires little to no baking, blind bake the crust to prevent it from becoming soggy.
- Use a tart pan with a removable bottom: This makes it easy to remove the tart from the pan and ensures a clean presentation.
Prep Time:
20 minutes
Cook Time:
15-25 minutes
Total Time:
1 hour (includes chilling time)
Nutritional Information:
(Approximate values per serving, assuming the recipe yields 8 servings. Nutritional values will vary greatly depending on the fillings used.)
- Calories: 250
- Protein: 4g
- Sodium: 50mg
Conclusion
This sweet tart crust recipe is a fundamental skill for any baker. With its simple ingredients and straightforward instructions, you’ll be creating beautiful and delicious tarts in no time. Don’t be afraid to experiment with different fillings and flavors to create your own signature tarts. The possibilities are endless! This reliable recipe will become your go-to for any occasion that calls for a touch of sweetness and sophistication.
Q&A
Q1: Can I use a food processor to make this dough?
A1: Yes, you can absolutely use a food processor to make this dough! In fact, many bakers find it to be a quicker and easier method. Just be sure to pulse the ingredients rather than continuously running the processor to avoid overworking the dough and warming the butter too much. Pulse the flour, powdered sugar, and salt together first, then add the cold, cubed butter and pulse until the mixture resembles coarse crumbs. Finally, add the egg and vanilla extract and pulse just until the dough comes together.
Q2: My tart crust always shrinks when I bake it. What am I doing wrong?
A2: Shrinking is a common problem with tart crusts, but there are several things you can do to prevent it. First, make sure your butter is very cold when you begin. Cold butter helps prevent the gluten from developing too much, which can cause the dough to shrink. Second, avoid overmixing the dough. Overmixing develops the gluten, making the dough more elastic and prone to shrinking. Third, chill the dough for at least 30 minutes before rolling it out. This allows the gluten to relax and the butter to solidify, further reducing the risk of shrinkage. Finally, blind baking with pie weights or dried beans can help to keep the crust from shrinking while it bakes.
Q3: Can I make this dough ahead of time?
A3: Absolutely! This dough can be made ahead of time and stored in the refrigerator for up to 2 days or in the freezer for up to 2 months. If refrigerating, wrap the dough tightly in plastic wrap to prevent it from drying out. If freezing, wrap the dough in plastic wrap and then in a layer of foil. When ready to use, thaw the dough in the refrigerator overnight. You may need to let it sit at room temperature for a few minutes before rolling it out, but be careful not to let it get too warm.
Q4: Can I substitute gluten-free flour in this recipe?
A4: While you can substitute gluten-free flour, it may require some adjustments to the recipe. Gluten-free flours often absorb moisture differently than all-purpose flour, so you may need to add a little more liquid to the dough. Also, gluten-free crusts can be more fragile than traditional crusts, so be extra careful when handling the dough and transferring it to the tart pan. Consider using a gluten-free flour blend that is specifically designed for baking. Adding a small amount of xanthan gum can also help to improve the texture and structure of the crust.
Q5: What if I don’t have a tart pan with a removable bottom?
A5: If you don’t have a tart pan with a removable bottom, you can still use a regular tart pan. Just be sure to grease the pan well before pressing the dough into it. After baking, let the tart cool completely before attempting to remove it from the pan. You may need to carefully run a knife around the edges of the crust to loosen it before inverting it onto a serving plate. Alternatively, you can line the tart pan with parchment paper before pressing the dough in, leaving an overhang of paper on all sides. After baking, you can use the overhang to lift the tart out of the pan.