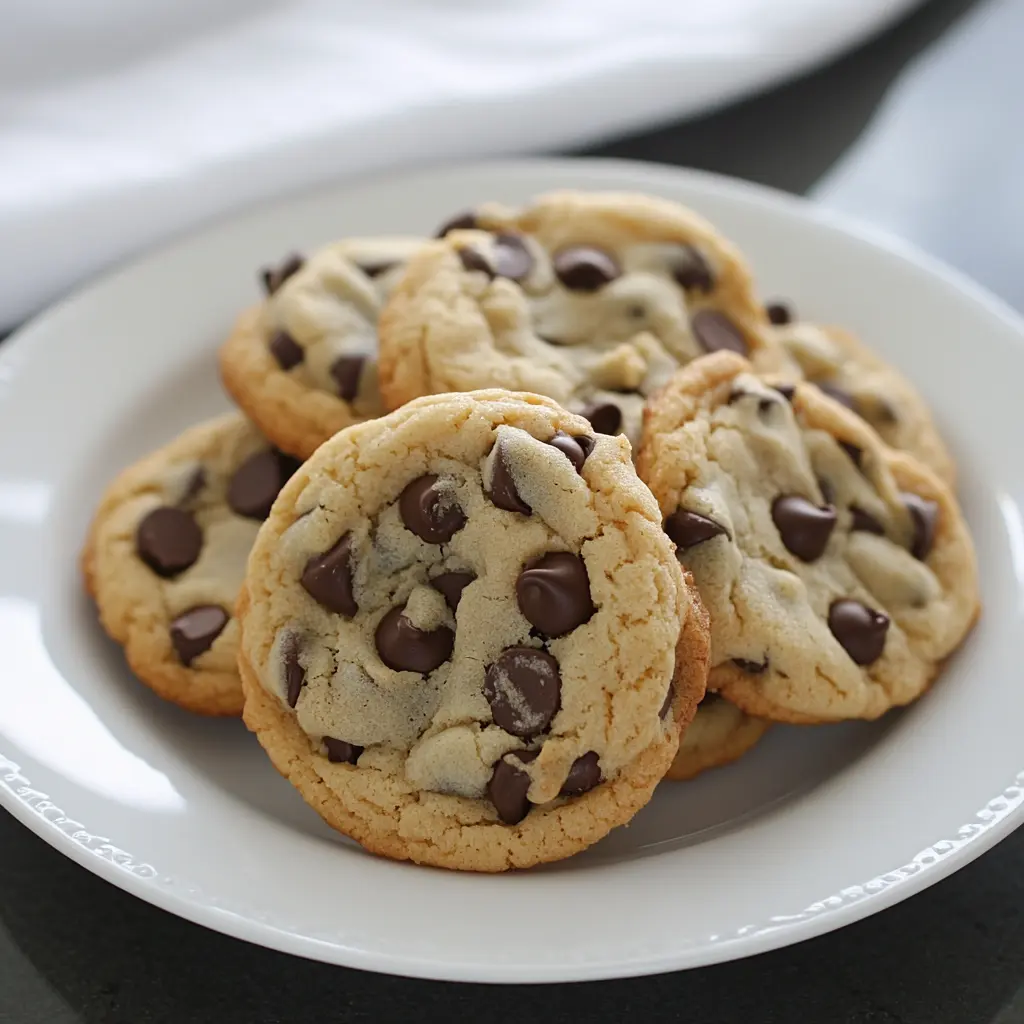
Description: These aren’t just any chocolate chip cookies; they’re a symphony of buttery goodness, perfectly balanced sweetness, and a melt-in-your-mouth texture, studded with generous portions of your favorite chocolate chips. This recipe delivers consistently perfect cookies, every single time.
Why You Will Love This Recipe:
- Simplicity: This recipe uses everyday ingredients and straightforward instructions, making it accessible to bakers of all skill levels.
- Perfect Texture: Achieve that ideal balance of a chewy center and slightly crisp edges – the holy grail of chocolate chip cookies.
- Customizable: Easily adapt this recipe to your personal preferences by experimenting with different types of chocolate, nuts, or spices.
- Crowd-Pleaser: These cookies are guaranteed to be a hit with family, friends, and anyone who appreciates a truly exceptional chocolate chip cookie.
- Stress-Free Baking: Forget about complicated techniques or finicky steps. This recipe is designed for reliability and consistent results.
Introduction
The pursuit of the perfect chocolate chip cookie is a journey many home bakers undertake. After countless attempts and variations, I’m thrilled to share a recipe that consistently delivers the ultimate chocolate chip cookie experience. Forget dry, crumbly cookies or flat, greasy disappointments. This recipe yields cookies that are soft, chewy, and bursting with chocolate flavor. The key is in the careful balance of ingredients and a few simple techniques that will elevate your baking game. From the initial creamy blend of butter and sugar to the final golden-brown perfection, every step in this recipe is designed to create a cookie that will have you reaching for seconds (and maybe thirds!). Let’s embark on this delicious journey together!
Ingredients:
- 3/4 cup (1 1/2 sticks) salted butter, softened: Using salted butter adds depth of flavor and complements the sweetness. Ensure the butter is properly softened, but not melted, for optimal creaming.
- 1/2 cup packed light brown sugar: Brown sugar contributes to the cookies’ chewiness and adds a subtle molasses flavor. Pack it firmly when measuring to ensure accurate proportions.
- 1/2 cup granulated sugar: Granulated sugar provides sweetness and helps to create crisp edges.
- 1 large egg: The egg binds the ingredients together and contributes to the cookies’ richness and texture.
- 1 tablespoon pure vanilla extract: Vanilla extract enhances the overall flavor profile of the cookies, adding warmth and complexity. Use pure vanilla extract for the best results.
- 2 cups all-purpose flour: All-purpose flour provides the structure for the cookies. Measure accurately using the spoon and level method (spoon the flour into the measuring cup, then level off with a knife) to avoid adding too much.
- 1 teaspoon baking soda: Baking soda helps the cookies to rise and create a soft, airy texture.
- 1/2 teaspoon salt: Salt balances the sweetness and enhances the other flavors in the cookies.
- 1 cup your favorite chocolate chips: The type of chocolate chips is entirely up to you! Semi-sweet, dark chocolate, milk chocolate, or even a combination will work beautifully. Consider using high-quality chocolate chips for the best flavor.
Preparation:
Step 1: Preheat the oven to 350°F (175°C). Position a rack in the center of the oven. This ensures even baking and prevents the cookies from burning on the bottom. Line your baking sheet with parchment paper or a silicone baking mat. This prevents the cookies from sticking and makes cleanup a breeze. If you don’t have parchment paper or a silicone mat, you can use an ungreased baking sheet, but keep a close eye on the cookies to prevent sticking.
Step 2: In the bowl of a stand mixer fitted with the paddle attachment, or using an electric hand mixer, cream together the softened butter, granulated sugar, and brown sugar until light and fluffy. This step is crucial for creating a light and airy texture. Creaming the butter and sugar incorporates air into the mixture, which helps the cookies rise and become tender. Beat the mixture for at least 3-5 minutes, scraping down the sides of the bowl occasionally to ensure everything is evenly combined. The mixture should be noticeably lighter in color and fluffy in texture.
Step 3: Scrape down the sides of the bowl to ensure all the butter and sugar are incorporated. Add the egg and vanilla extract. Mix until just combined. Avoid overmixing at this stage, as it can lead to tough cookies. Overmixing develops the gluten in the flour, which can result in a dense and chewy texture. Mix until the egg and vanilla are fully incorporated and the mixture is smooth.
Step 4: In a separate bowl, whisk together the flour, baking soda, and salt. This ensures that the baking soda and salt are evenly distributed throughout the flour, preventing pockets of salty or metallic flavors. Whisking also helps to aerate the flour, which contributes to a lighter texture. Gradually add the dry ingredients to the wet ingredients, mixing on low speed until just combined. Be careful not to overmix. The dough should be soft but not sticky.
Step 5: Fold in your favorite chocolate chips. Gently fold the chocolate chips into the dough using a spatula or wooden spoon. Avoid using the mixer for this step, as it can crush the chocolate chips and overmix the dough.
Step 6: Scoop the dough out into 1 1/2 tablespoon portions (a #40 cookie scoop works great here) and arrange on your prepared baking sheet. Leave about 2 inches of space between each cookie to allow for spreading. If you don’t have a cookie scoop, you can use a tablespoon measure.
Step 7: Bake at 350°F (175°C) for 8-10 minutes, or until the cookies have spread and are just beginning to turn golden brown on the edges. The baking time may vary depending on your oven, so keep a close eye on the cookies. They should be soft and slightly underbaked in the center.
Step 8: Allow the cookies to cool on the baking sheet for 5 minutes before transferring them to a wire cooling rack to cool completely. This allows the cookies to set slightly and prevents them from breaking when you move them.
COOKING Rating:
- Ease: Easy
- Flavor: Excellent
- Texture: Perfect Chewy and Soft
Serving Suggestions:
- Enjoy warm with a glass of cold milk.
- Serve as a dessert at parties or gatherings.
- Pack in lunchboxes for a sweet treat.
- Enjoy with a scoop of vanilla ice cream for an extra decadent dessert.
- Pair with a cup of coffee or tea for a cozy afternoon snack.
Tips:
- Soft Butter is Key: Ensure your butter is softened to room temperature but not melted. This is crucial for proper creaming and a light, airy texture.
- Don’t Overmix: Overmixing the dough develops gluten, leading to tough cookies. Mix until just combined.
- Chill the Dough (Optional): Chilling the dough for 30 minutes to an hour can help prevent excessive spreading and enhance the flavor.
- High-Quality Chocolate: Use high-quality chocolate chips for the best flavor.
- Baking Time: Keep a close eye on the cookies during baking. They should be soft and slightly underbaked in the center.
- Even Baking: Rotate the baking sheet halfway through baking to ensure even browning.
- Storage: Store cookies in an airtight container at room temperature for up to 3 days.
Prep Time:
15 minutes
Cook Time:
8-10 minutes
Total Time:
23-25 minutes
Nutritional Information:
(Approximate, per cookie)
Calories: 150 Protein: 2g Sodium: 75mg
Conclusion
Congratulations! You’ve just baked a batch of the best chocolate chip cookies you’ve ever tasted. This recipe is a testament to the fact that simple ingredients and careful techniques can create something truly extraordinary. Whether you’re a seasoned baker or a novice in the kitchen, this recipe is sure to become a staple in your repertoire. Share these cookies with loved ones, savor each bite, and revel in the joy of homemade goodness. Happy baking!
Questions and Answers:
Q1: Can I use unsalted butter instead of salted butter?
A: Yes, you can certainly use unsalted butter. If you do, simply increase the amount of salt in the recipe from 1/2 teaspoon to 3/4 teaspoon. This will ensure that the cookies have the right balance of sweet and salty flavors. Using salted butter is primarily for convenience and flavor enhancement, but the difference is subtle and easily adjusted.
Q2: My cookies are spreading too thin. What am I doing wrong?
A: There are several reasons why your cookies might be spreading too thin. First, make sure your butter is properly softened but not melted. Melted butter will cause the cookies to spread more. Second, avoid overmixing the dough, as this can develop the gluten and lead to flatter cookies. Third, try chilling the dough for 30 minutes to an hour before baking. This will help to firm up the butter and prevent excessive spreading. Fourth, ensure that your oven is properly preheated to the correct temperature. Finally, if you’re using an older baking sheet, it may not be distributing heat evenly, which can also contribute to spreading.
Q3: Can I substitute the all-purpose flour with another type of flour?
A: While you can experiment with different types of flour, all-purpose flour is generally the best choice for chocolate chip cookies. If you want to try a substitution, you could use pastry flour for a slightly more tender cookie, but be aware that it may also spread more. You can substitute for gluten-free flour blend, be sure it is a 1:1 ratio of AP flour. Avoid using bread flour, as it has a higher protein content and will result in a chewier, denser cookie.
Q4: Can I add nuts or other ingredients to this recipe?
A: Absolutely! This recipe is a great base for customization. You can add chopped walnuts, pecans, macadamia nuts, or any other nuts you enjoy. You could also add dried fruits like cranberries or raisins, or even a sprinkle of sea salt on top of the cookies before baking for a salty-sweet treat. Just be sure to adjust the amount of chocolate chips accordingly to maintain the right balance of ingredients.
Q5: How long can I store these cookies?
A: These cookies are best enjoyed within 2-3 days of baking. Store them in an airtight container at room temperature to maintain their softness and chewiness. If you want to store them for longer, you can freeze the baked cookies for up to 2 months. Just be sure to wrap them tightly in plastic wrap and then place them in a freezer-safe bag or container. You can also freeze the cookie dough for up to 3 months. Scoop the dough into individual portions and freeze them on a baking sheet. Once frozen, transfer them to a freezer-safe bag or container. When you’re ready to bake them, simply bake from frozen, adding a few extra minutes to the baking time.